
This guide shows you how to add a new vendor in RAAD ERP. After you save, the vendor appears in your Vendors list.
Go to: Masters > Vendors
Step 1: Open the Masters menu
On a computer, point your mouse at the people icon in the left sidebar. On a phone, tap the menu button (☰) at the top left, then tap Masters. The Masters menu opens.
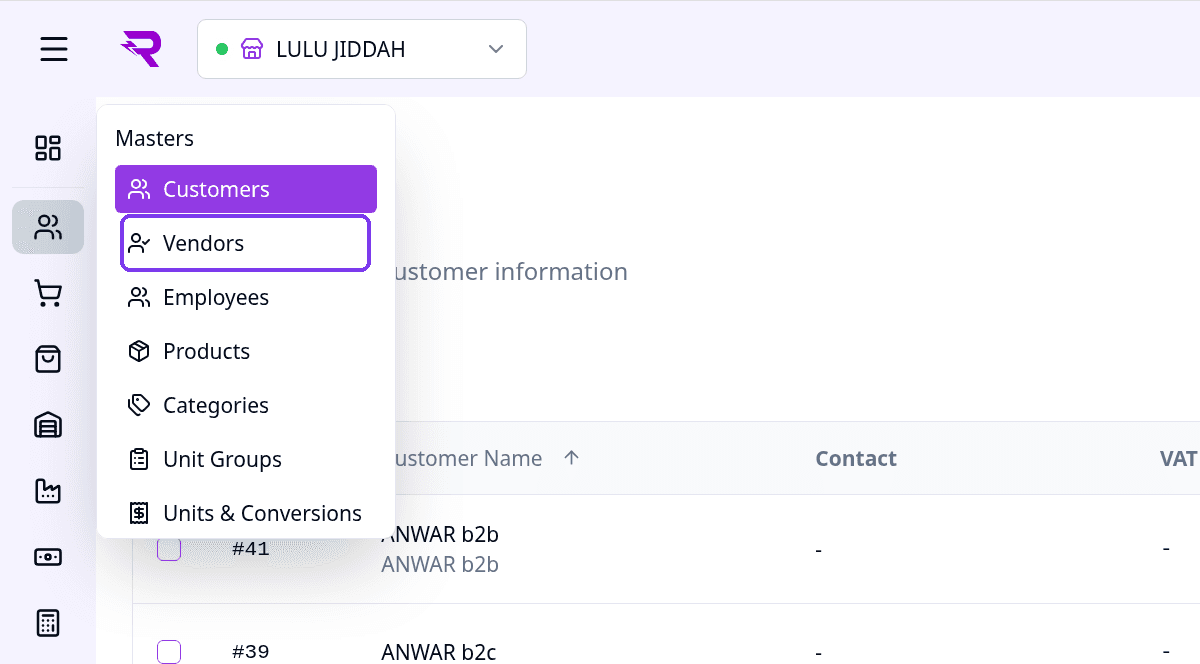
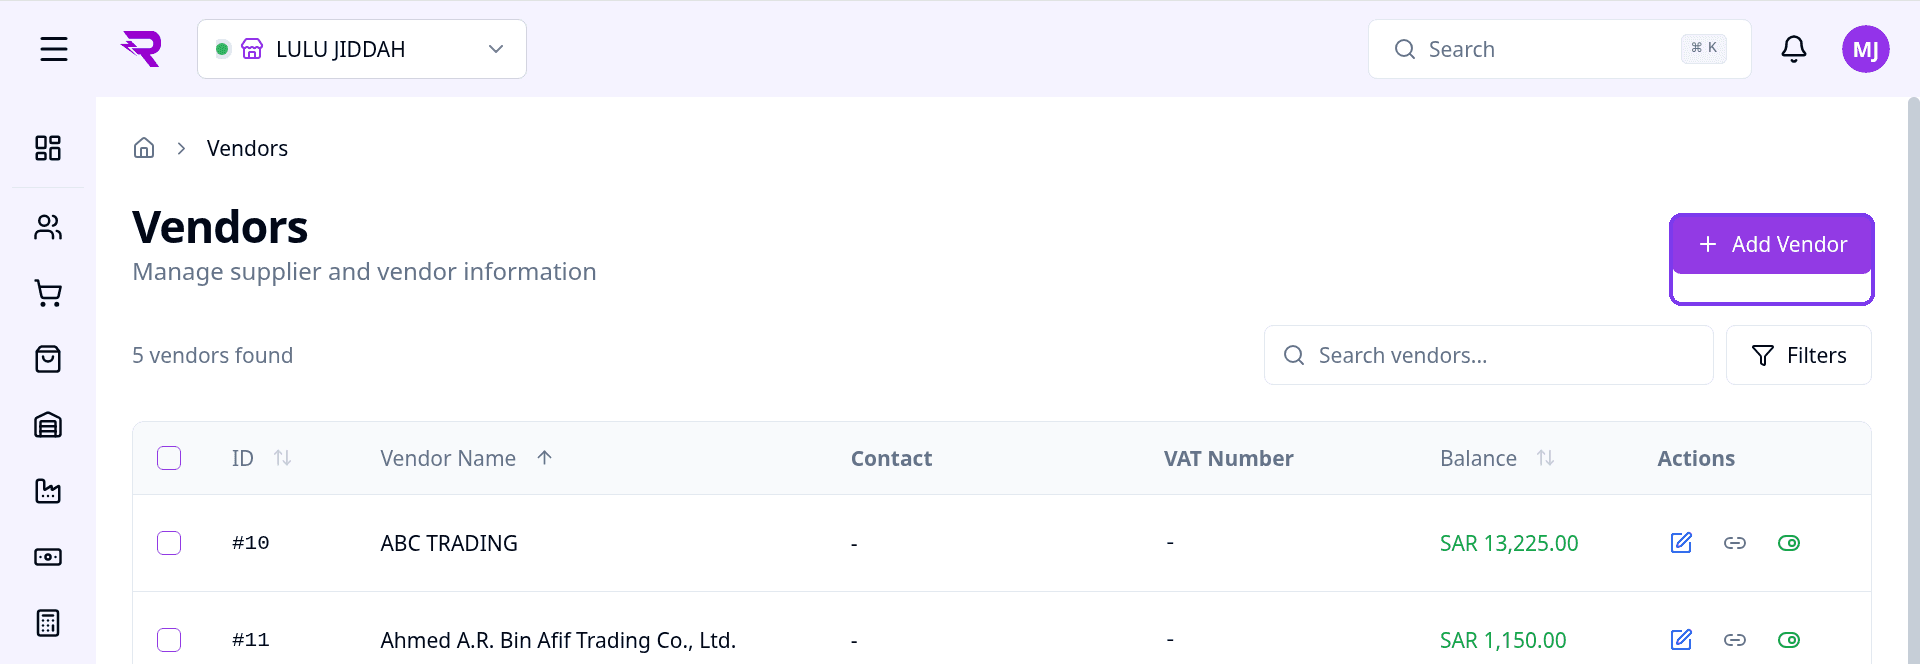
Step 2: Select Vendors, then click + Add Vendor
In the Masters menu, click Vendors. The Vendors page opens.
Click + Add Vendor at the top right. A form opens on the right.
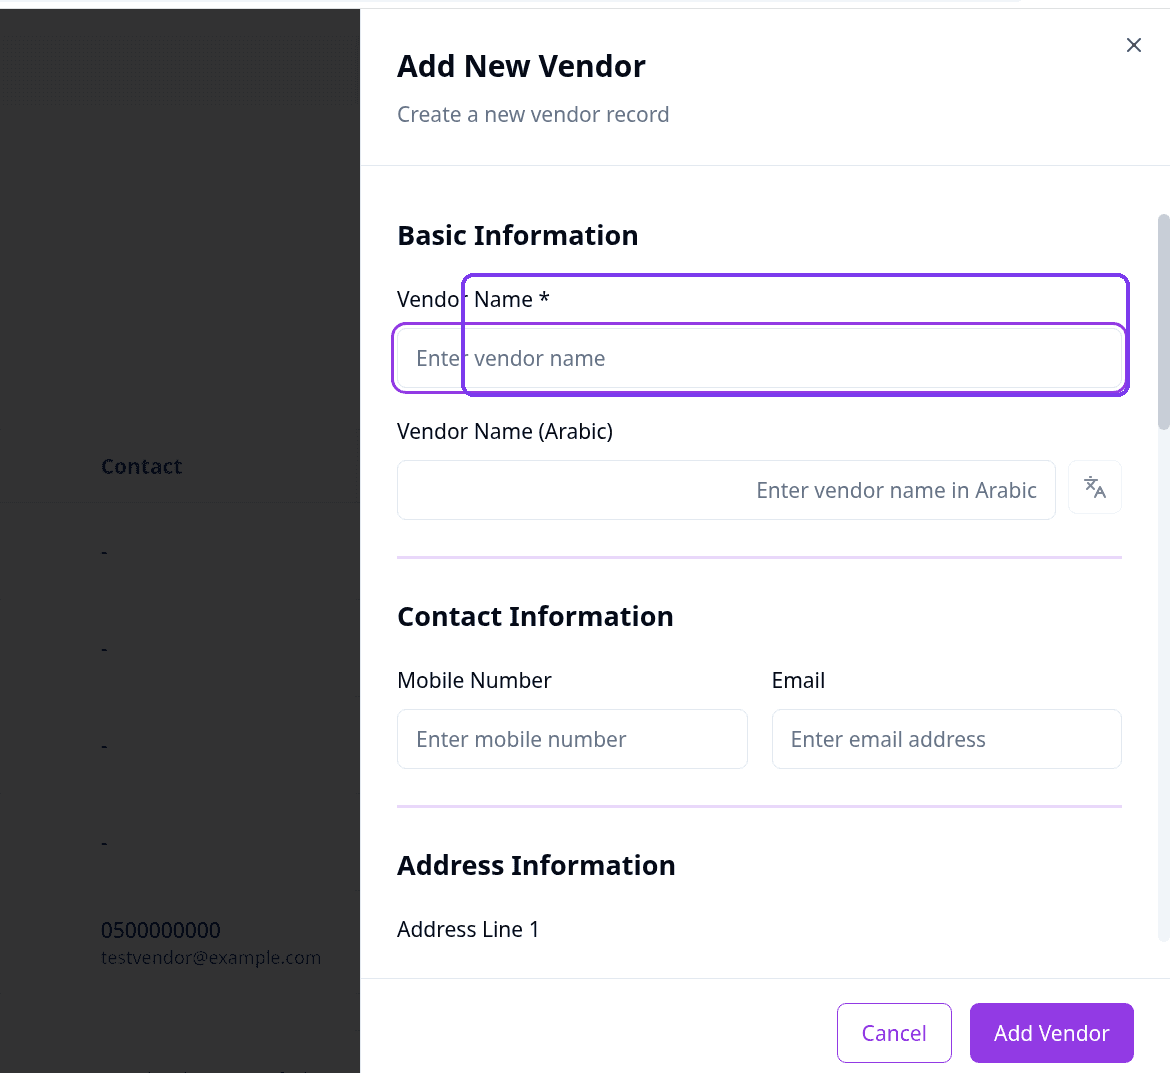
Step 3: Enter the vendor name
Type the Vendor Name. This is the only required field.
The Arabic name, mobile number and email are optional.
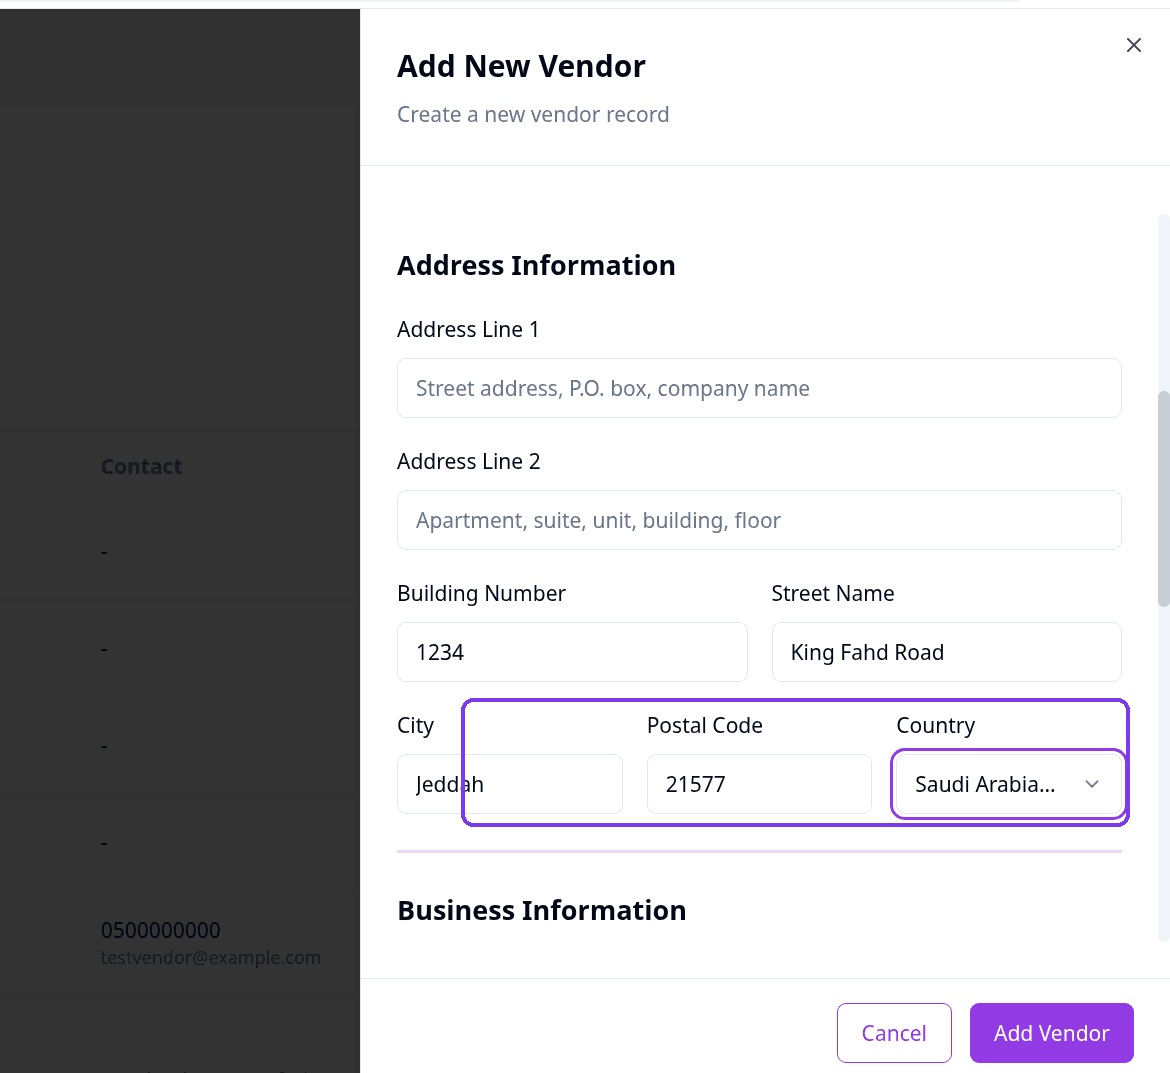
Step 4: Enter the address details
Fill in the Building Number, Street Name, City and Postal Code. Then choose the Country from the list.
Available countries include Bahrain, India, Kuwait, Oman, Qatar, Saudi Arabia and UAE.
Step 5: Enter the business and payment details
If needed, type the CR Number and the VAT Number. The VAT number must be 15 digits, starting and ending with 3.
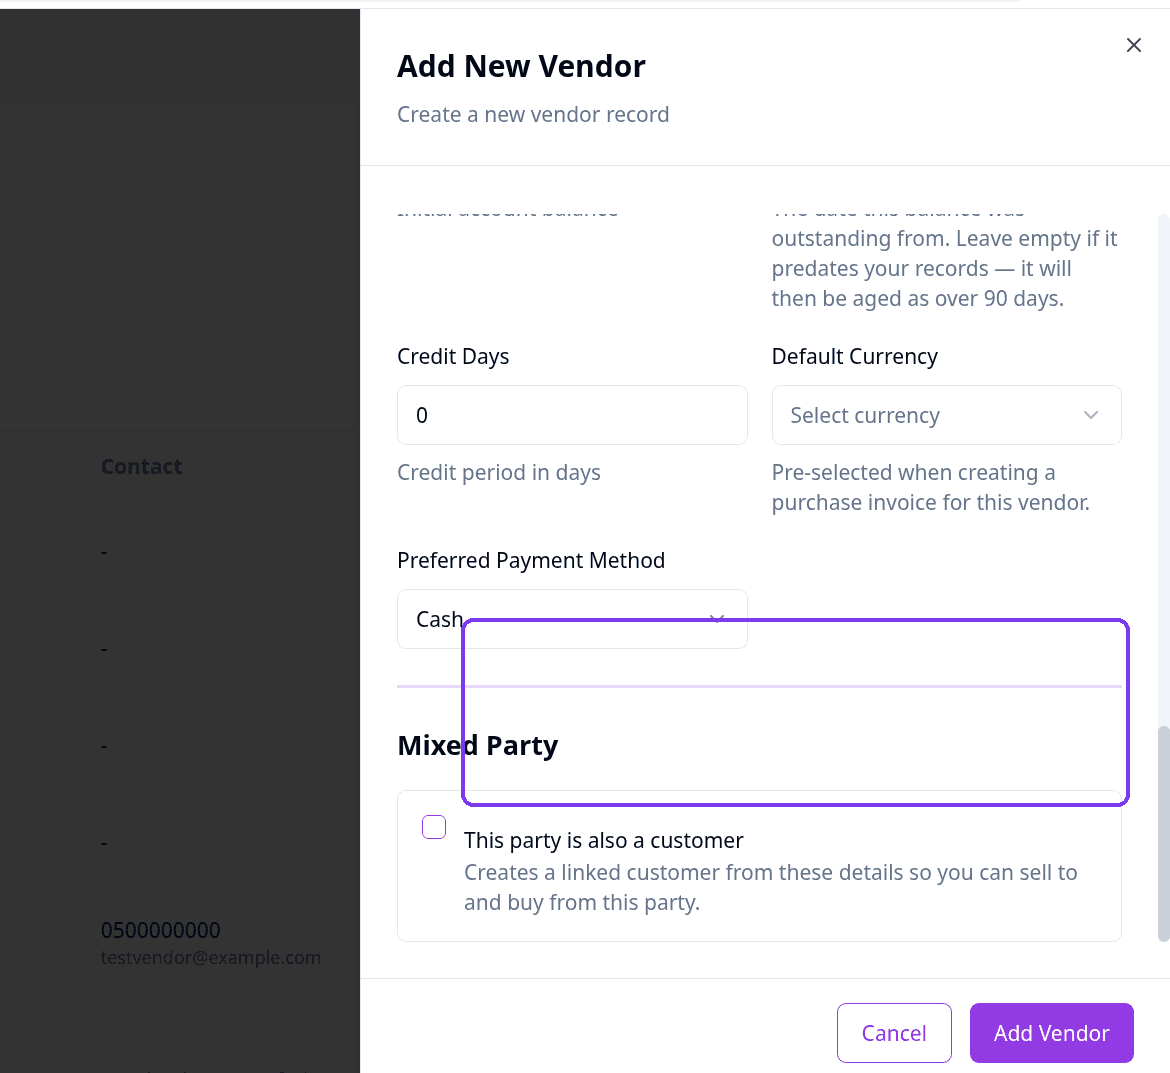
You can also set the Opening Balance, Credit Days, Default Currency and Preferred Payment Method. Cash is the default payment method.
Optional: tick This party is also a customer to also create a customer with the same details.
Step 6: Click Add Vendor to save
Scroll down and click Add Vendor at the bottom of the form.
You will see the message "Vendor created successfully". Your new vendor now appears in the Vendors list.
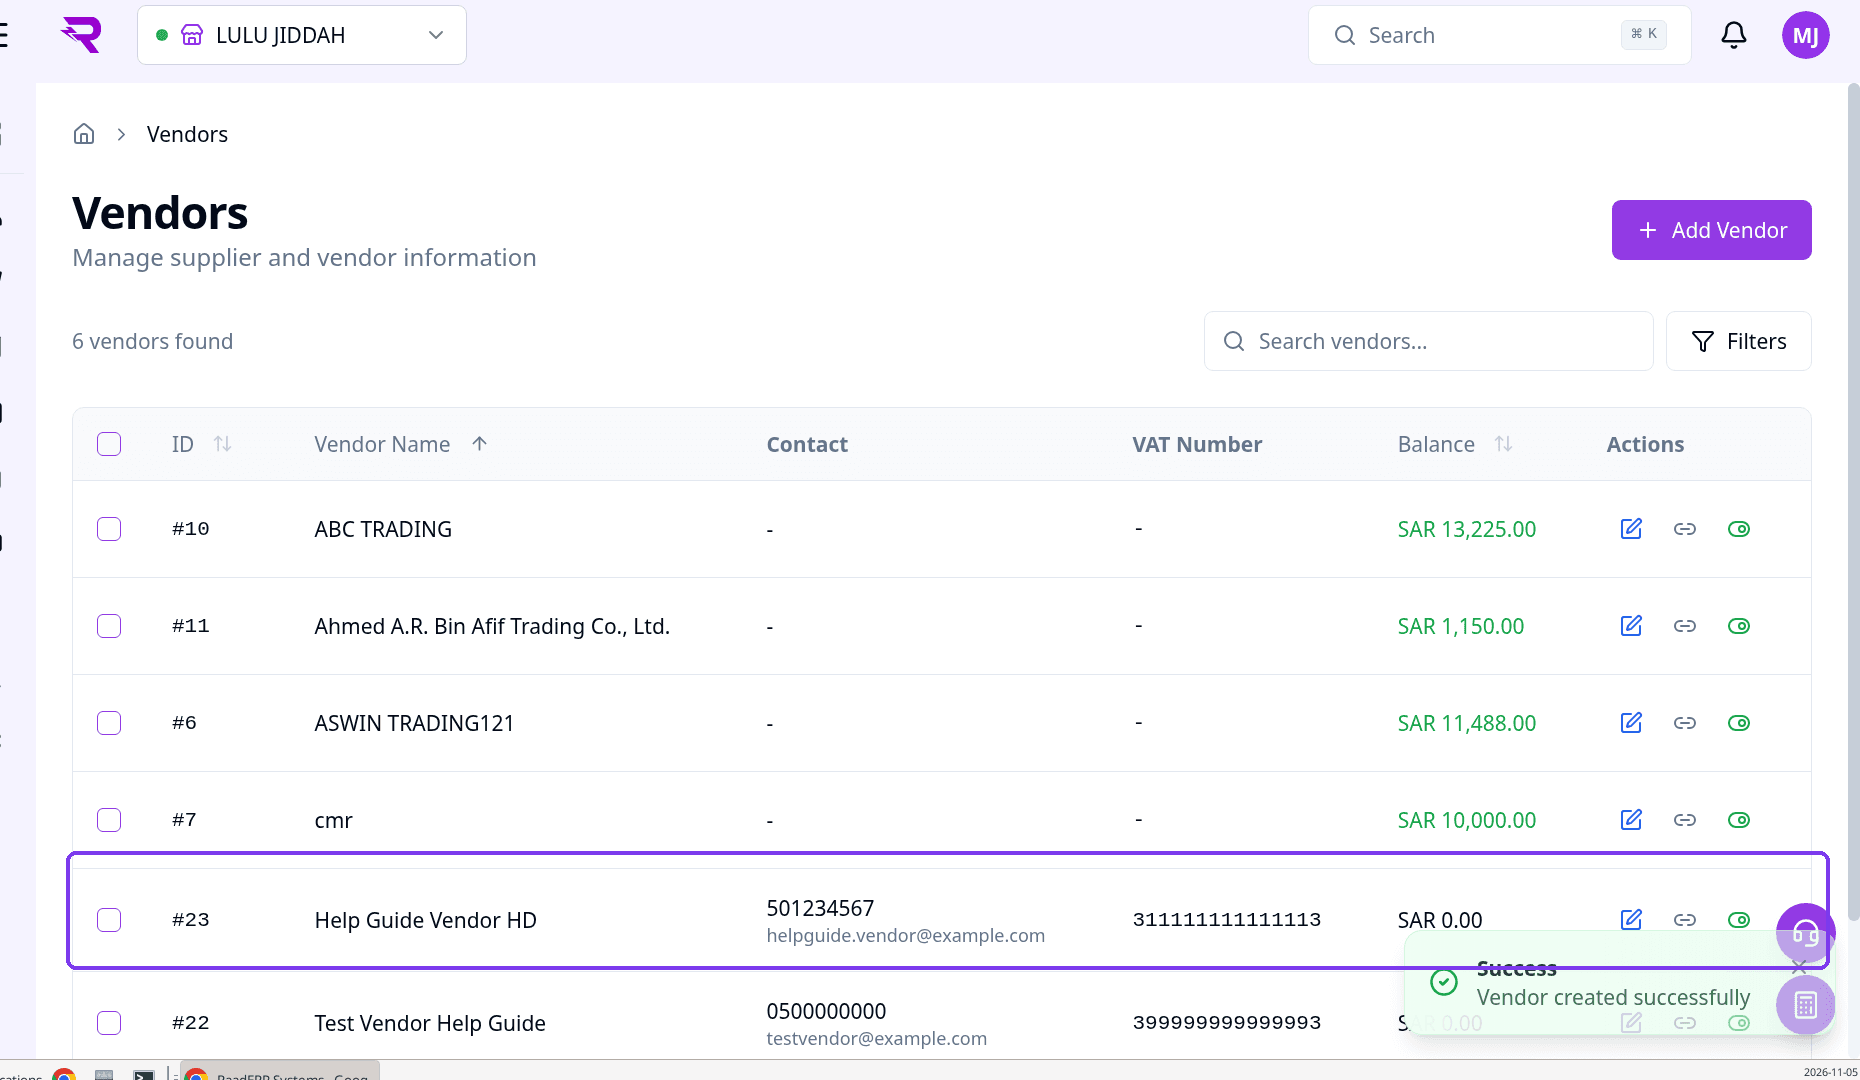
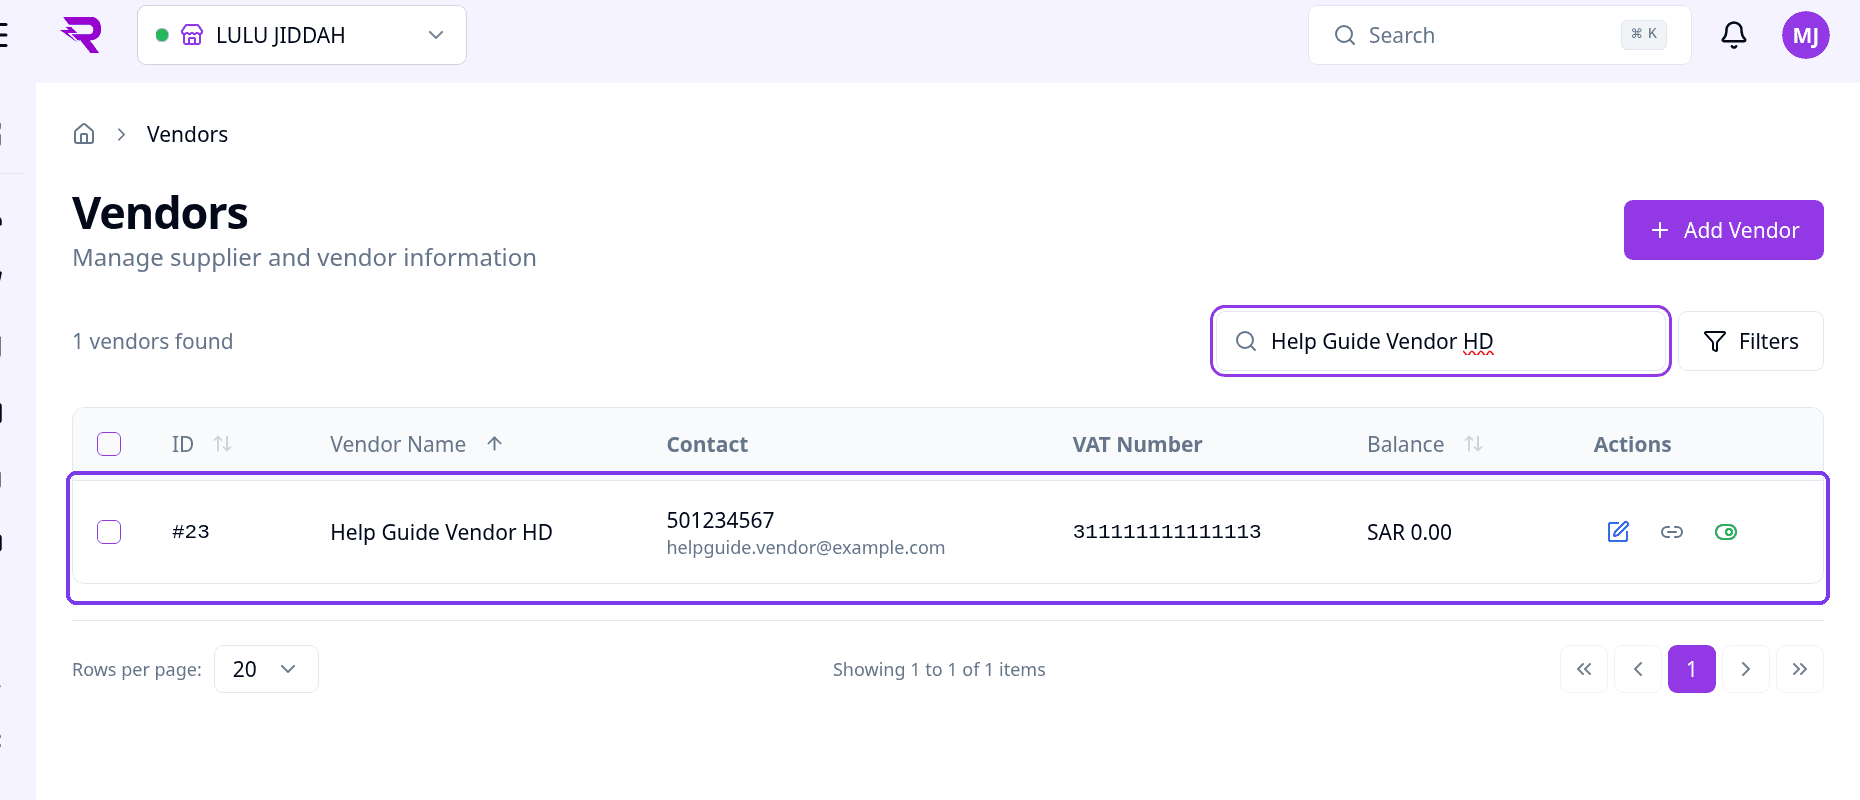
Step 7: Find the new vendor in the list
To find the vendor quickly, type its name in the search box.
Important Notes
- Fields marked * are required. Only Vendor Name is required.
- The VAT Number must be 15 digits, starting and ending with 3.
- Optional: tick This party is also a customer to also create a customer with the same details.