
This guide shows you how to add a new product in RAAD ERP. After you save, the product appears in your Products list.
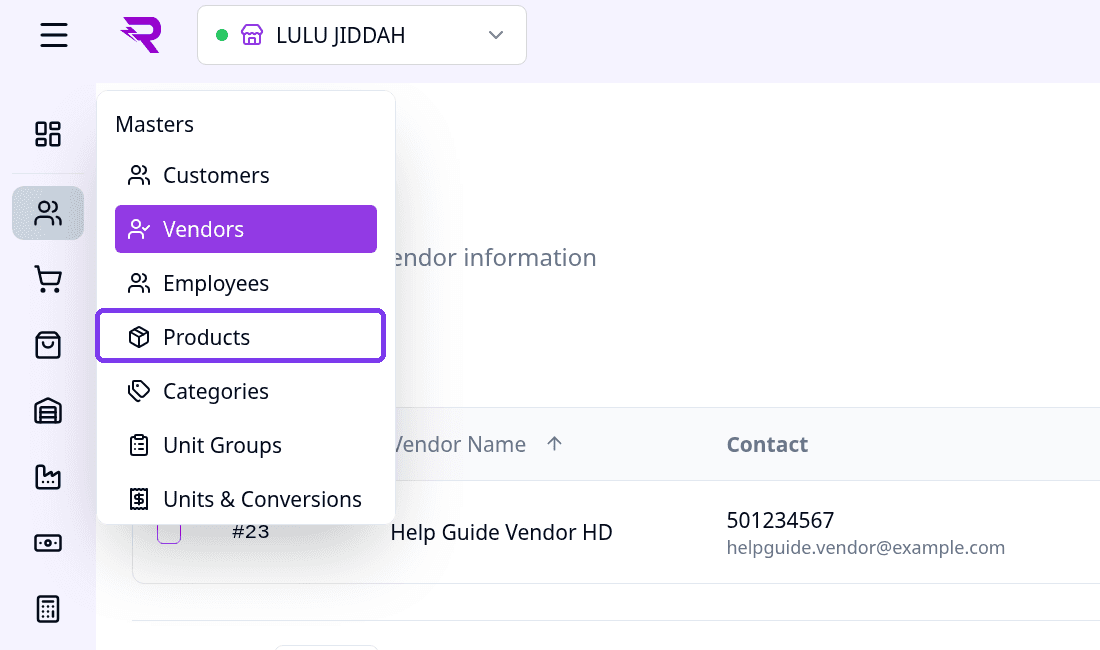
Go to: Masters > Products
Step 1: Open the Masters menu
On a computer, point your mouse at the people icon in the left sidebar. On a phone, tap the menu button (☰) at the top left, then tap Masters. The Masters menu opens. Click or tap Products.
Step 2: Click Add Product
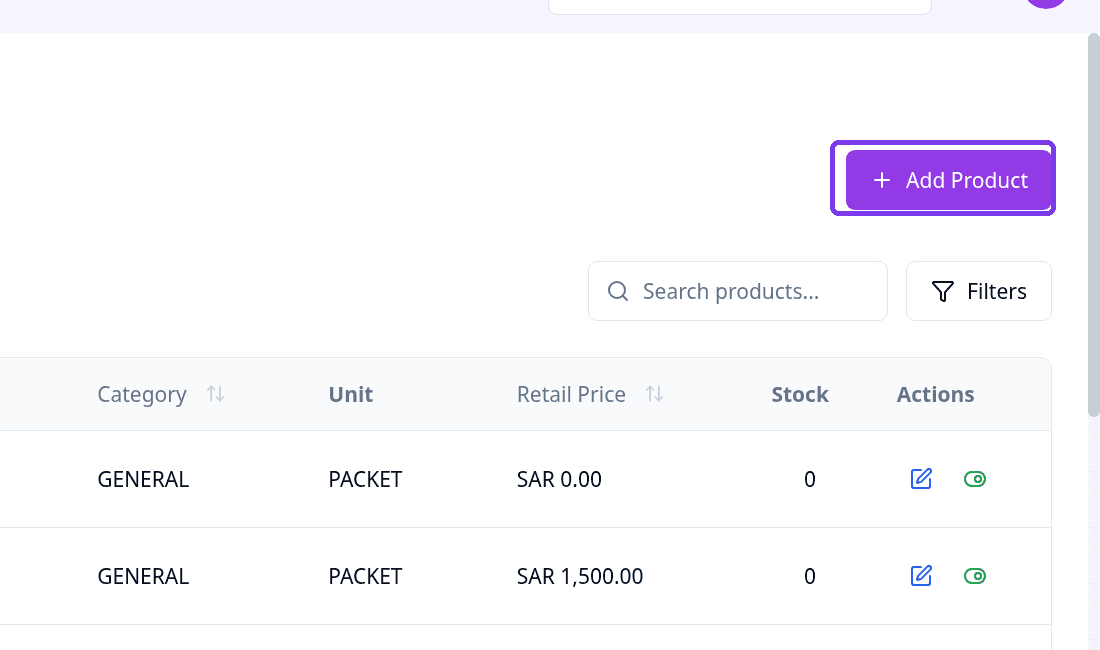
The Products page opens. It lists your products with their ID, SKU, name, category, unit, retail price and stock. Click + Add Product at the top right.
Step 3: Enter the product name
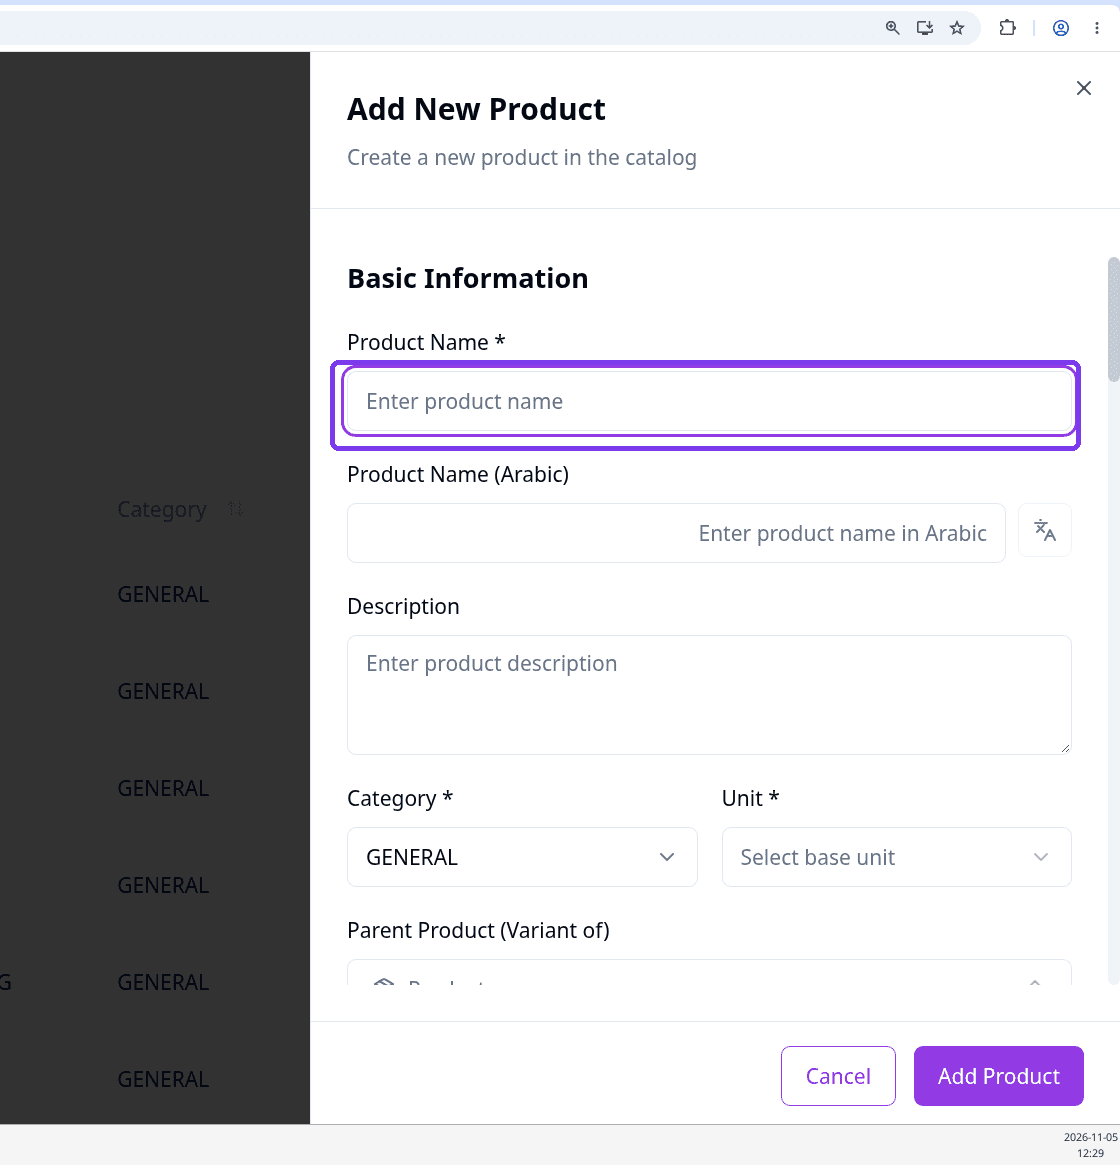
The Add New Product form opens. In Basic Information, type the name in Product Name. This field is required. You can also add the Arabic name and a description.
Step 4: Choose the category, unit and other basic details
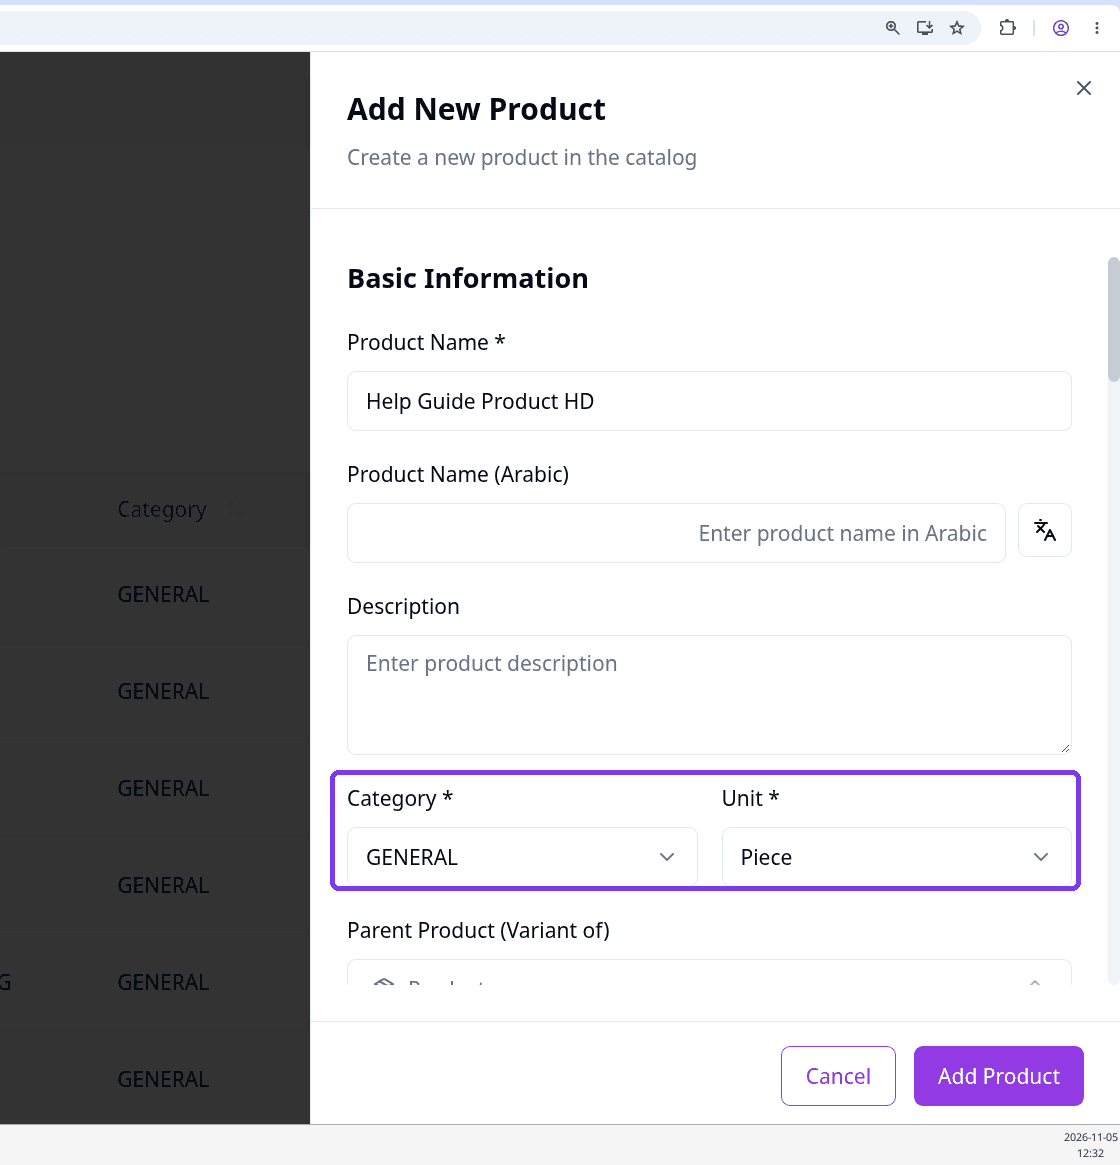
Fill in the other basic fields.
- Category: the product group. It is GENERAL by default.
- Unit: the base unit, for example Piece. This field is required.
- Item Type and Tax Group: these are already set to Stockable and VAT 15% Standard Rate. Change them only if needed.
- SKU: leave it empty to create one automatically. You can also add a Barcode.
Step 5: Enter the prices
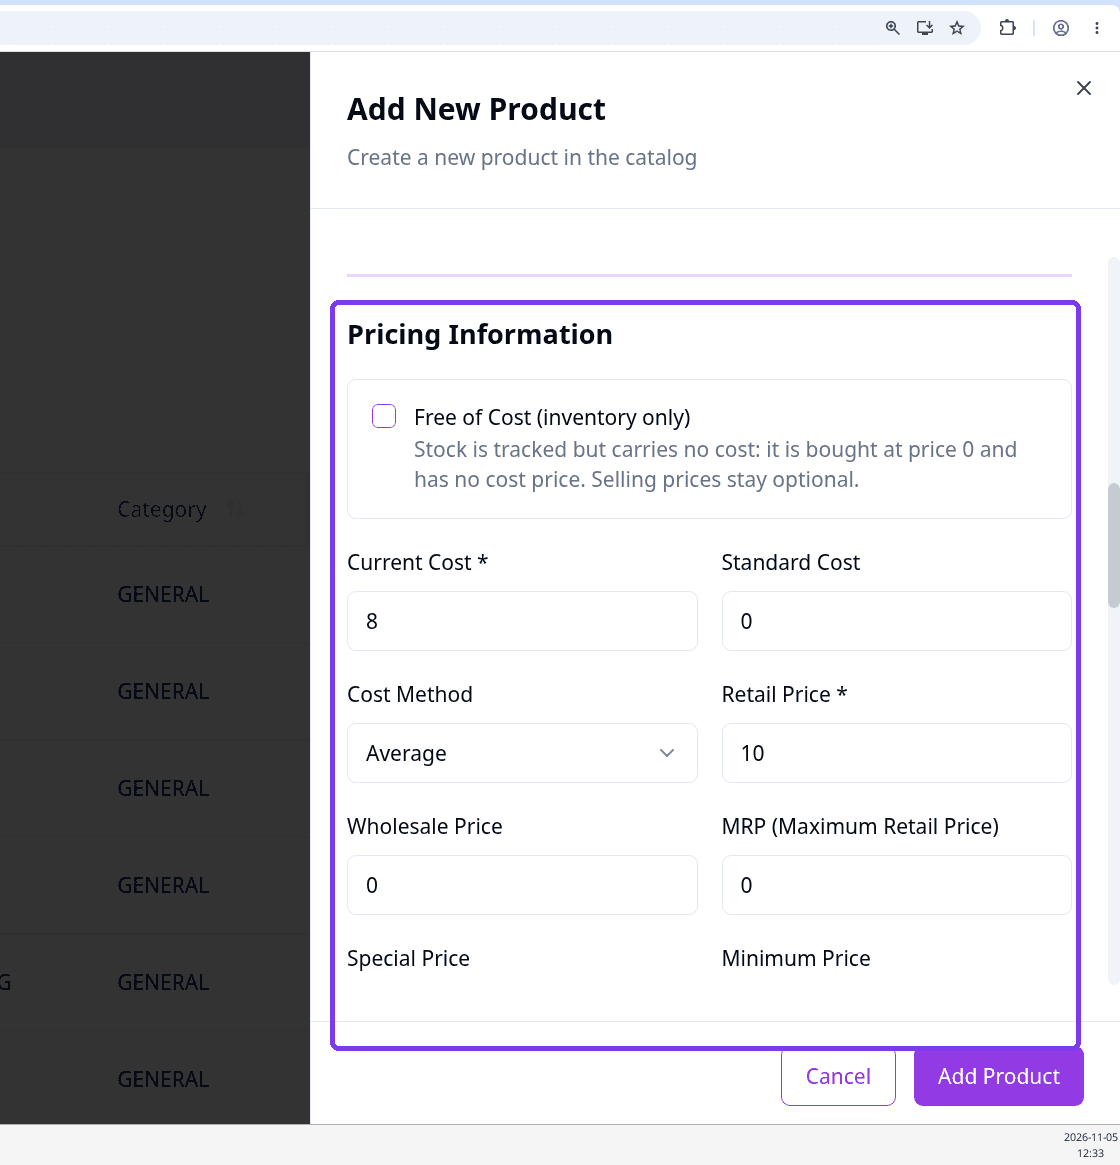
Scroll down to Pricing Information. Enter the Current Cost and the Retail Price. Both are required. Wholesale, MRP, Special and Minimum prices are optional.
Step 6: Add stock details (optional)
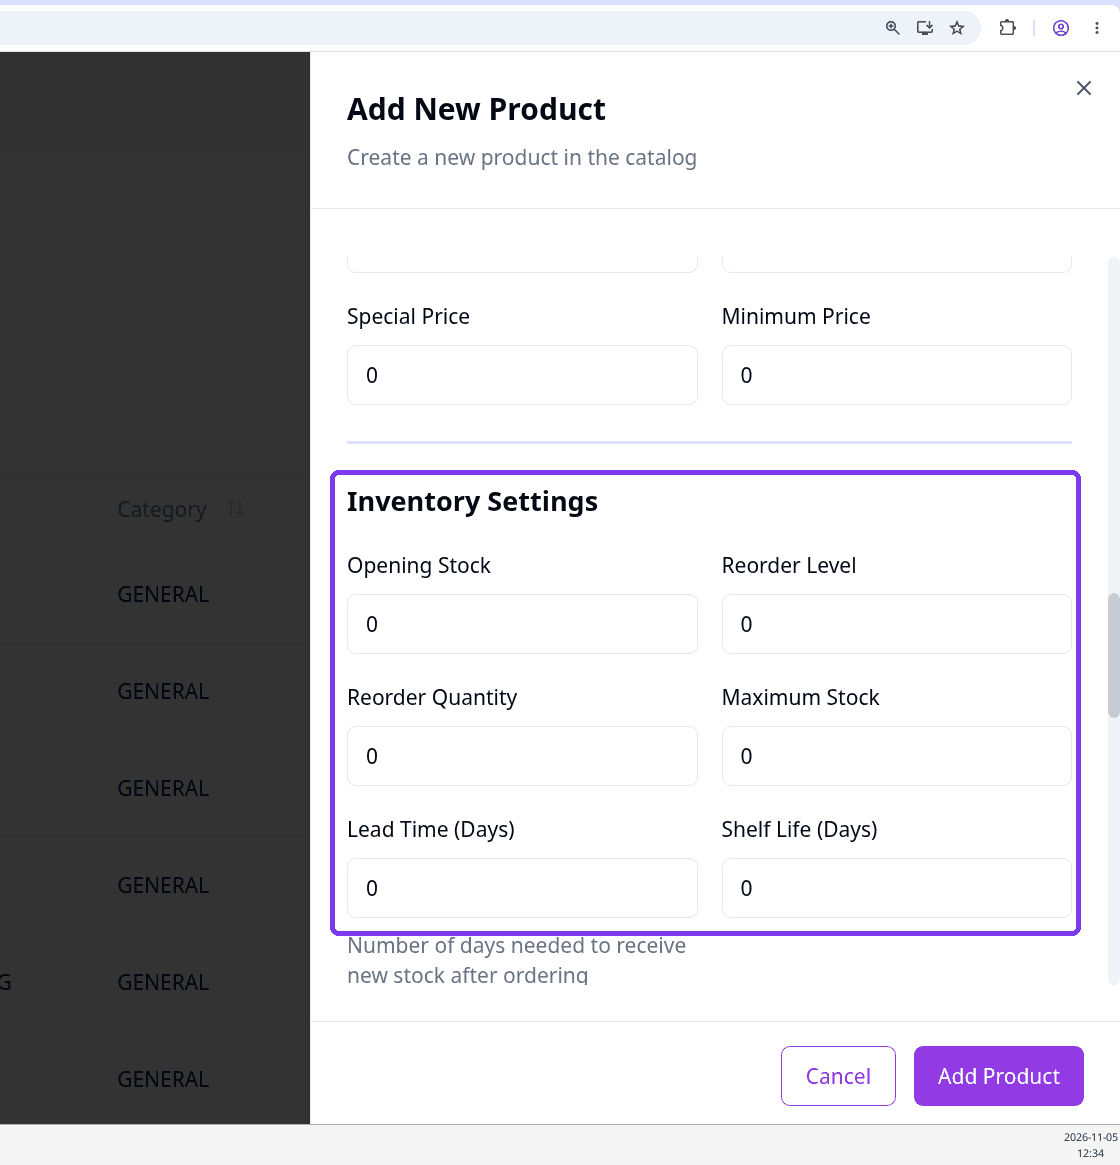
In Inventory Settings, you can enter the Opening Stock, Reorder Level, Reorder Quantity, Maximum Stock, Lead Time and Shelf Life. All of these are numbers and are optional.
Step 7: Check the additional settings (optional)
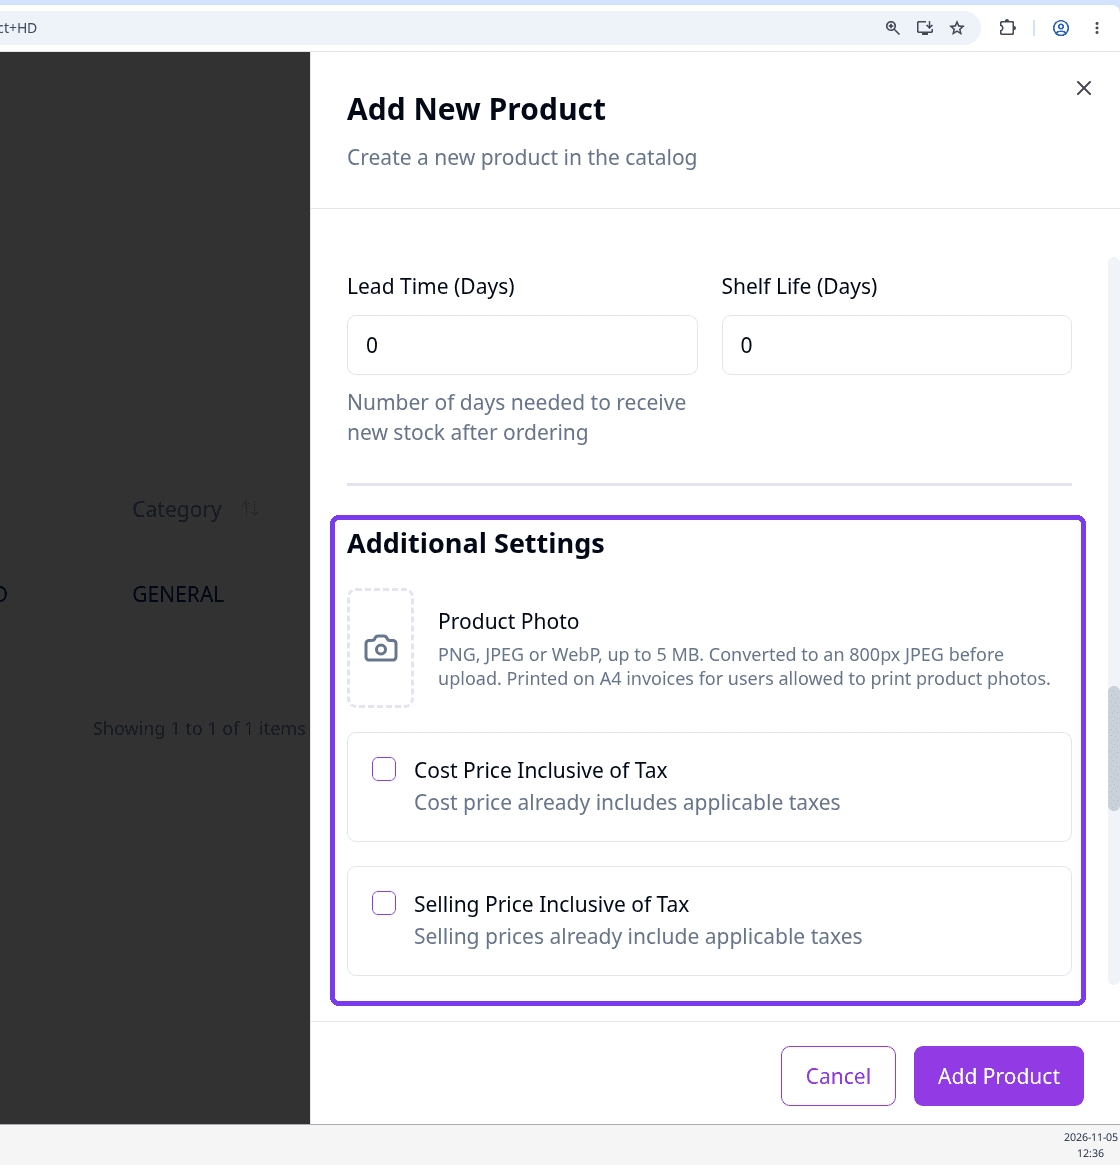
In Additional Settings, you can upload a Product Photo and choose whether the cost or selling price includes tax. Leave the other settings as they are if you are not sure.
Step 8: Save the product
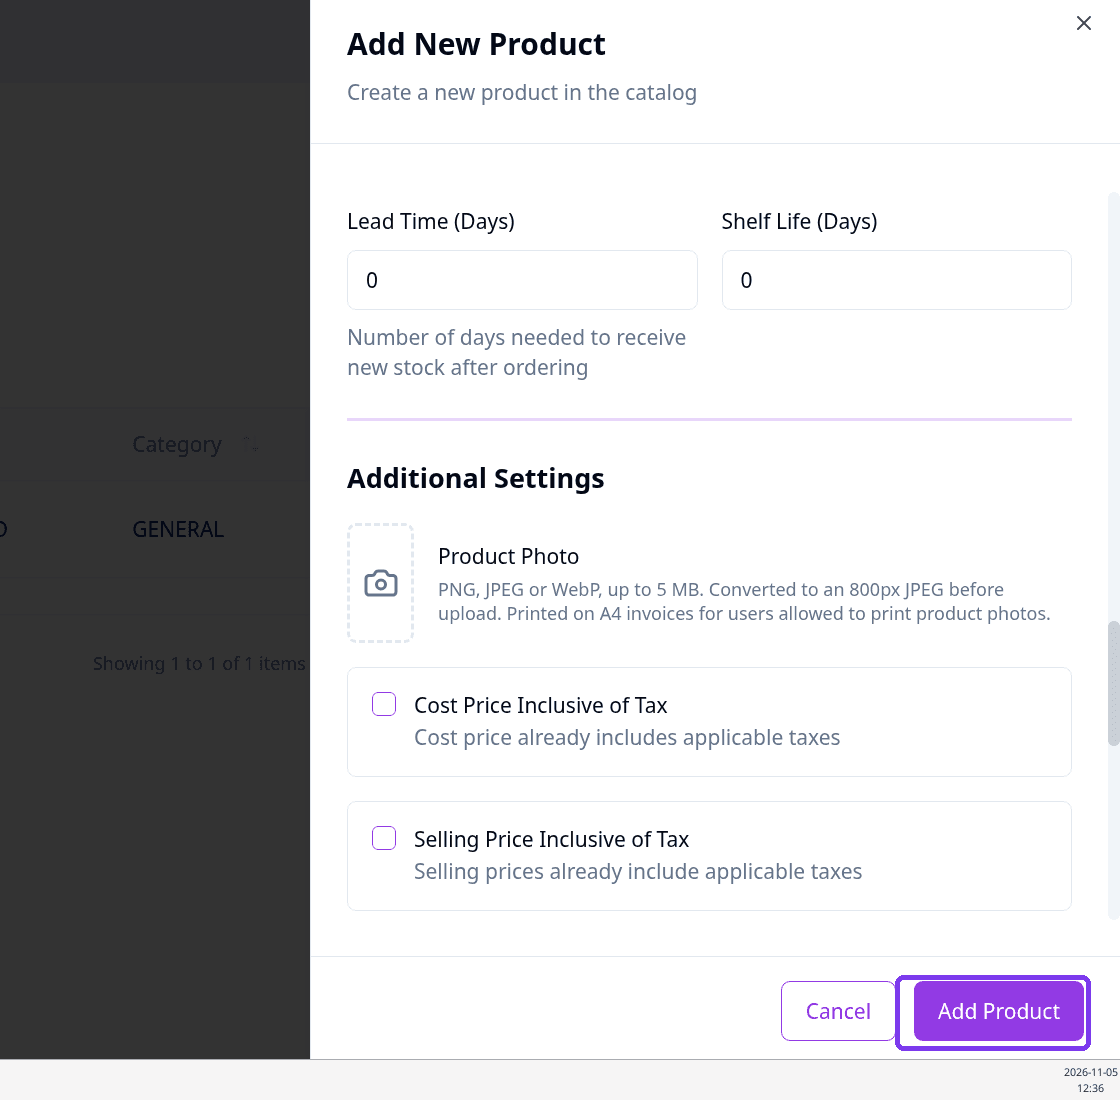
Click Add Product at the bottom of the form. You will see the message Product created successfully.
Step 9: Find your new product
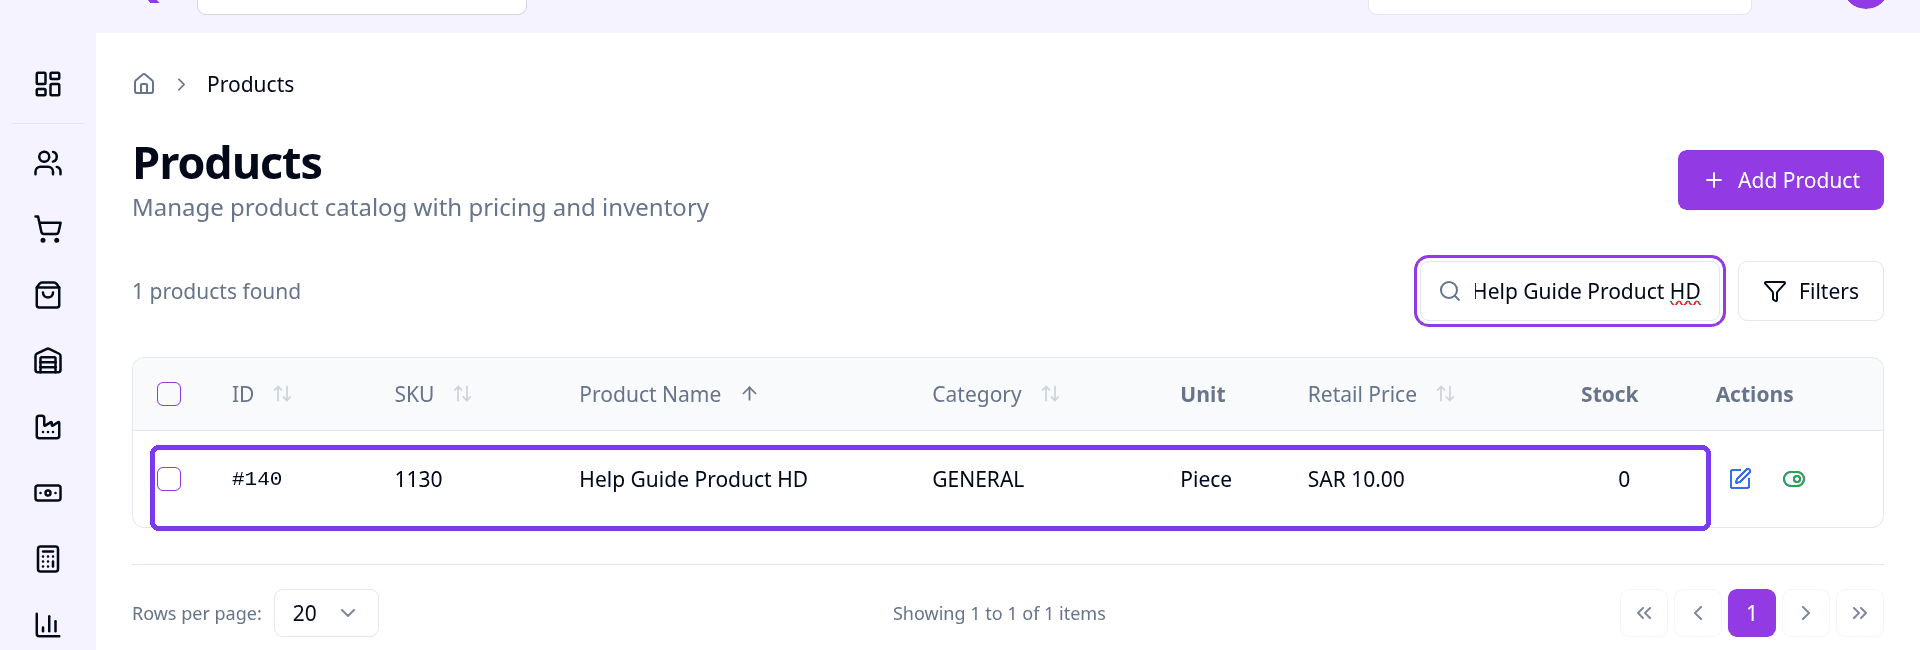
Type the product name in Search products.... Your new product appears in the list with its SKU.
Important Notes
- Fields marked with * are required. You cannot save the product without them.