
This guide shows you how to process a sales return in RAAD ERP. You pick the original invoice, enter the quantity returned, choose a refund method and save or post the return.
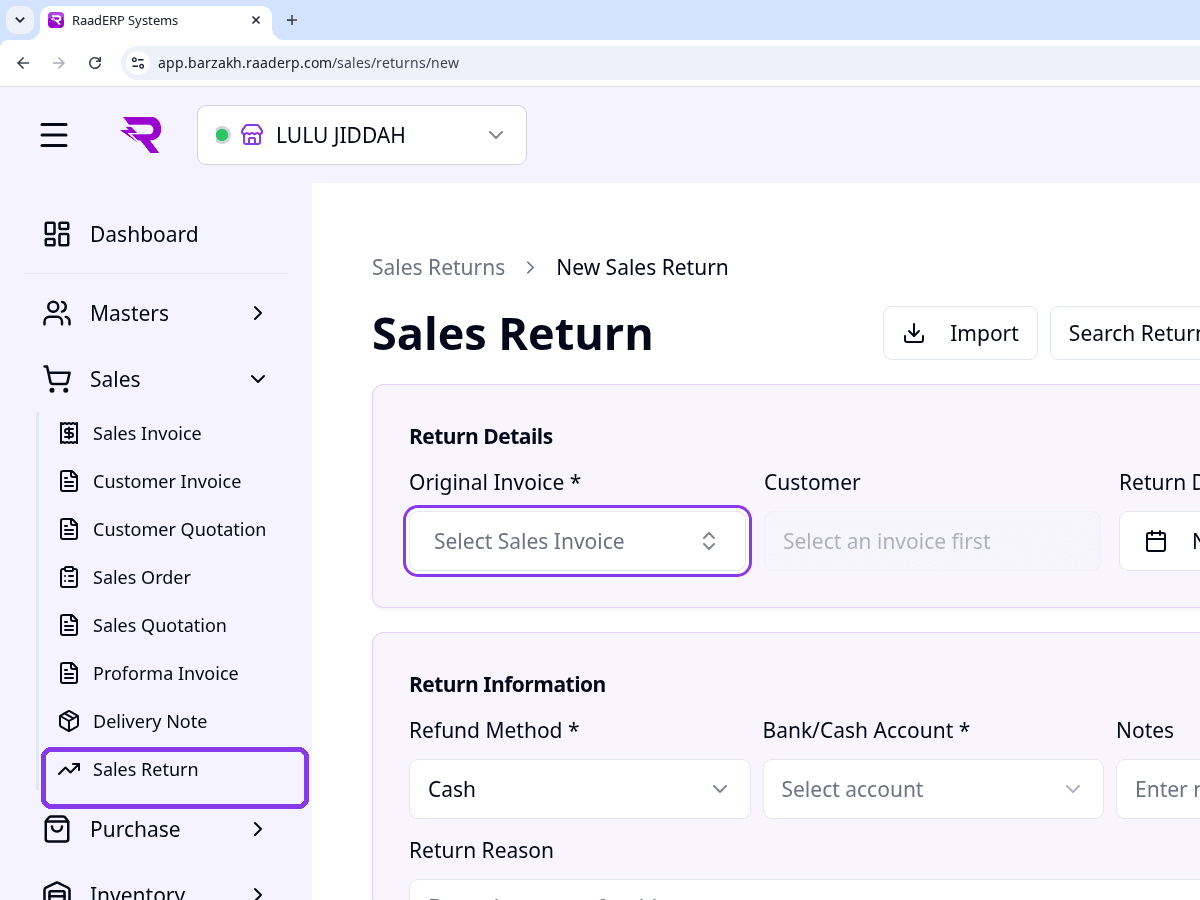
Go to: Sales > Sales Return
Step 1: Open Sales Return
On a computer, click Sales in the left sidebar. On a phone, tap the menu button (☰) at the top left, then tap Sales.
Click or tap Sales Return. The Sales Returns list opens.
Step 2: Click Create Sales Return
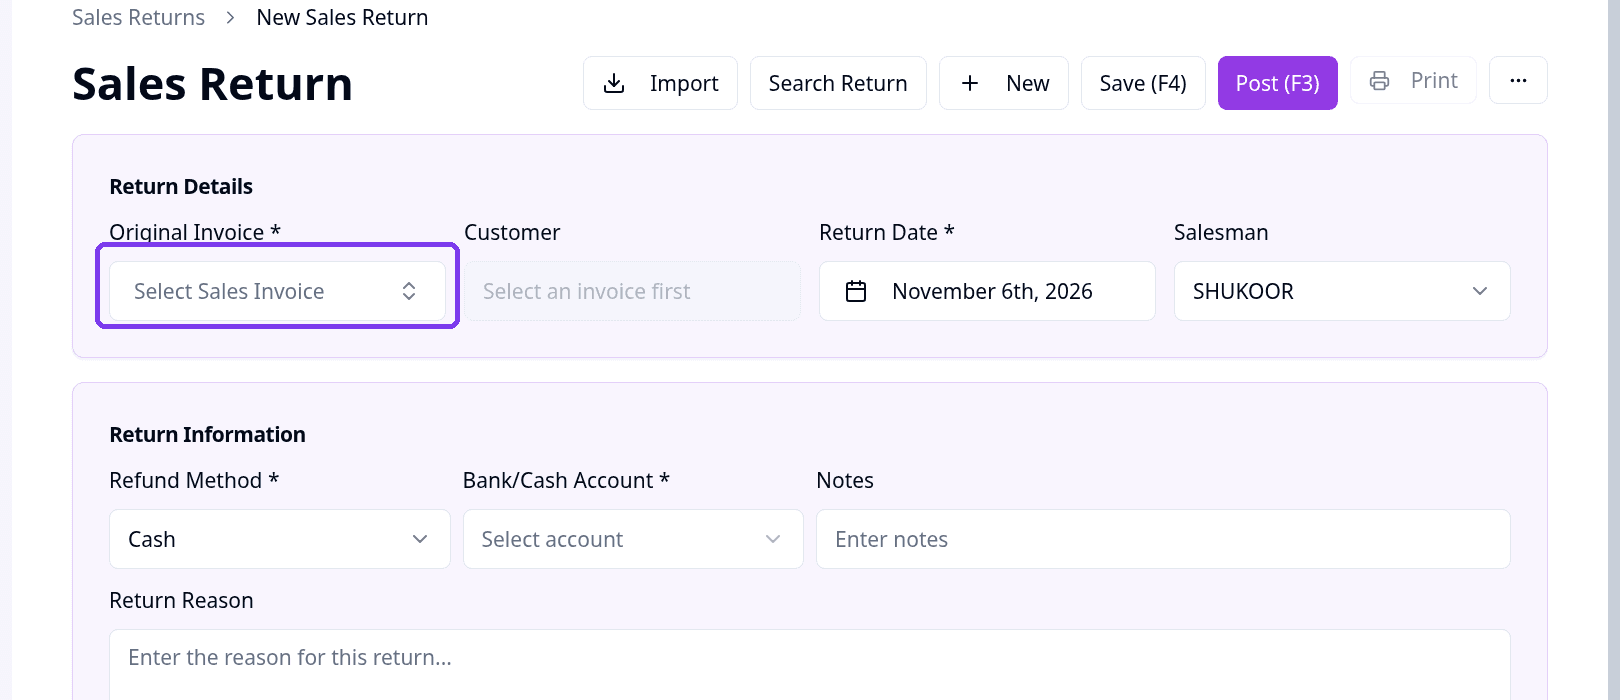
The Sales Returns page lists your returns with their number, date, customer, type, refund method, status and total amount.
Click Create Sales Return at the top right. A new sales return form opens.
Step 3: Pick the Original Invoice
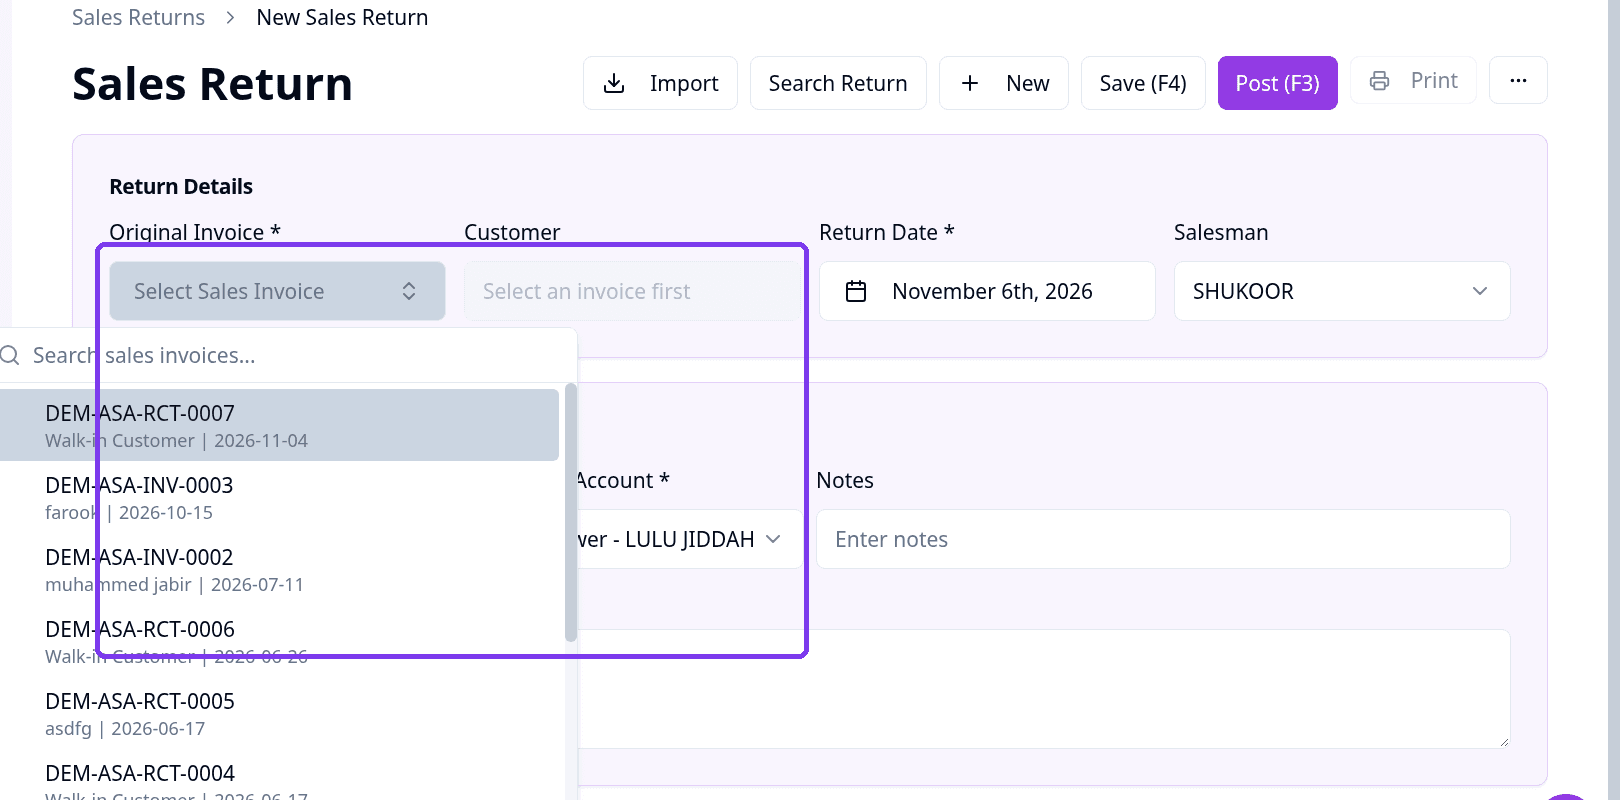
In Return Details, click Original Invoice and select the sales invoice this return is for. This field is required.
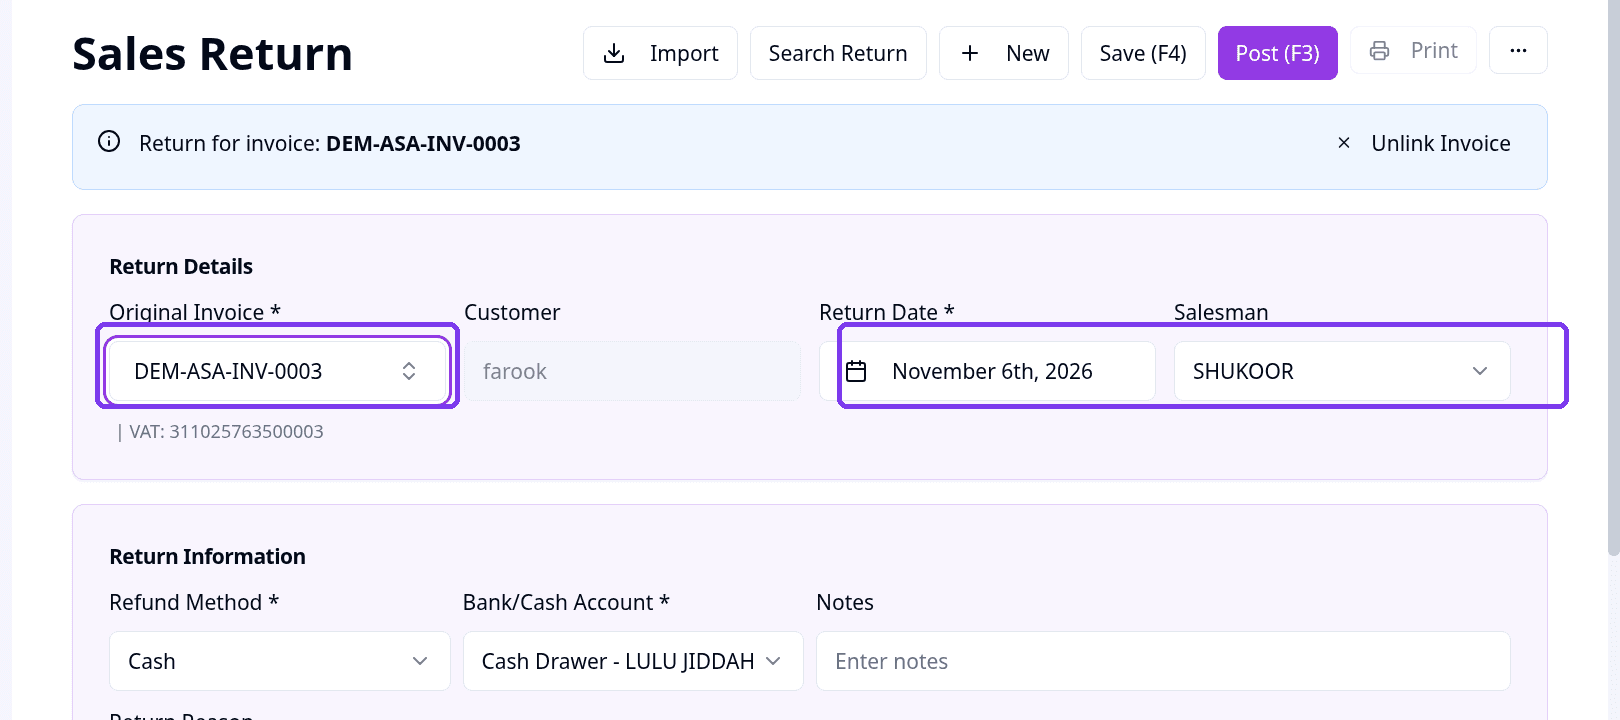
The Customer and the invoice line items fill in automatically. A banner shows which invoice the return is linked to.
Step 4: Check the Return Date and Salesman (optional)
Return Date is required and is set to today. Change it if needed.
You can also change the Salesman. The default is fine for most returns.
Step 5: Enter the quantity returned
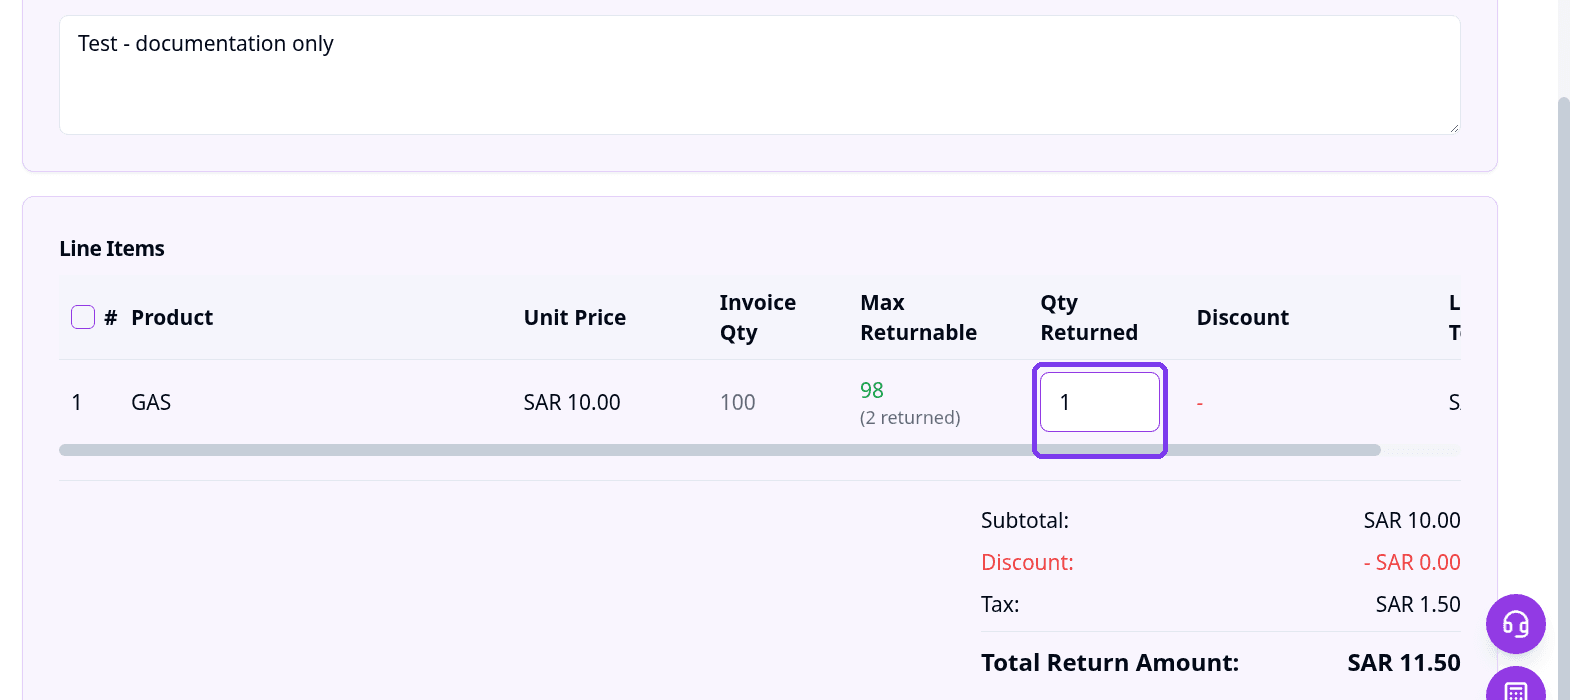
In Line Items, enter Qty Returned on each line you are returning. It cannot be more than Max Returnable.
The Subtotal, Tax and Total Return Amount update as you type.
Step 6: Choose the Refund Method
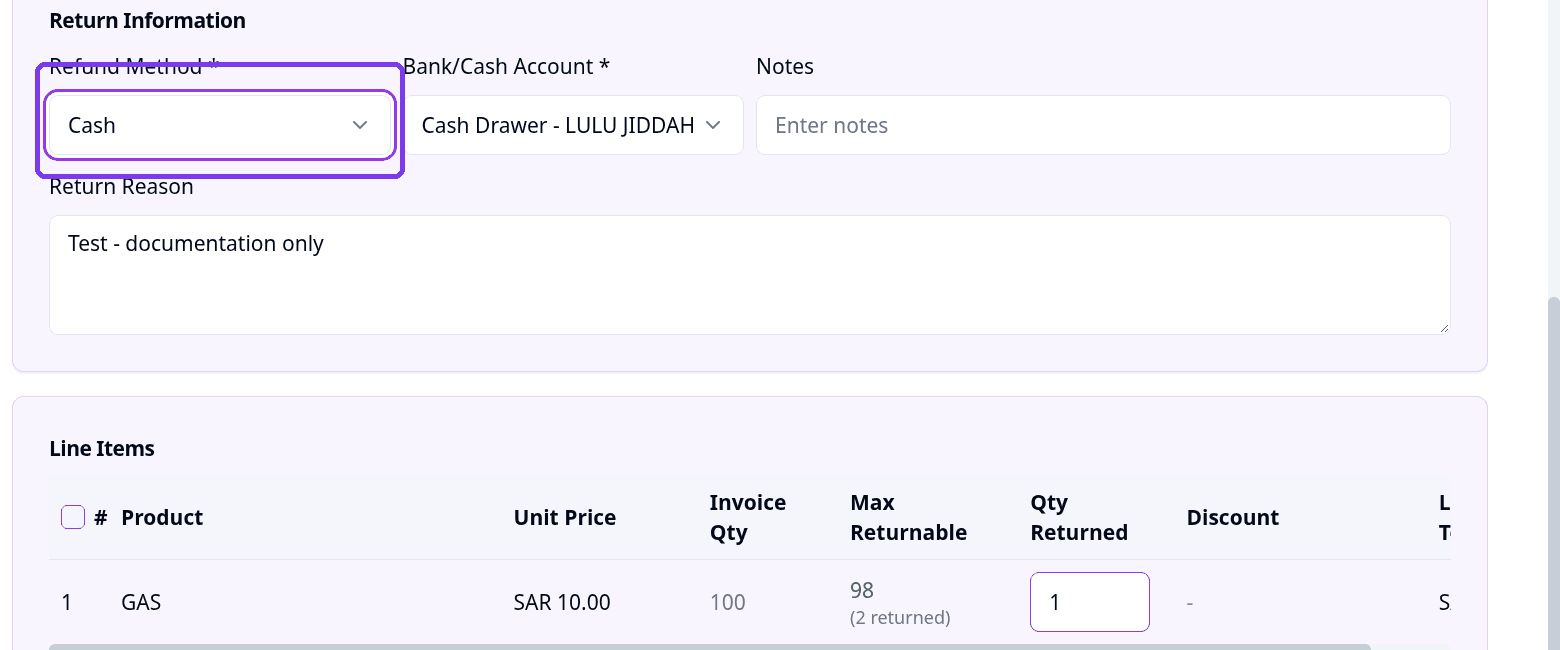
In Return Information, choose the Refund Method: Cash, Card, Bank Transfer or Store Credit. This field is required.
For Cash, the Bank/Cash Account fills in automatically. Check it, or choose another account. This field is also required.
Step 7: Add notes (optional)
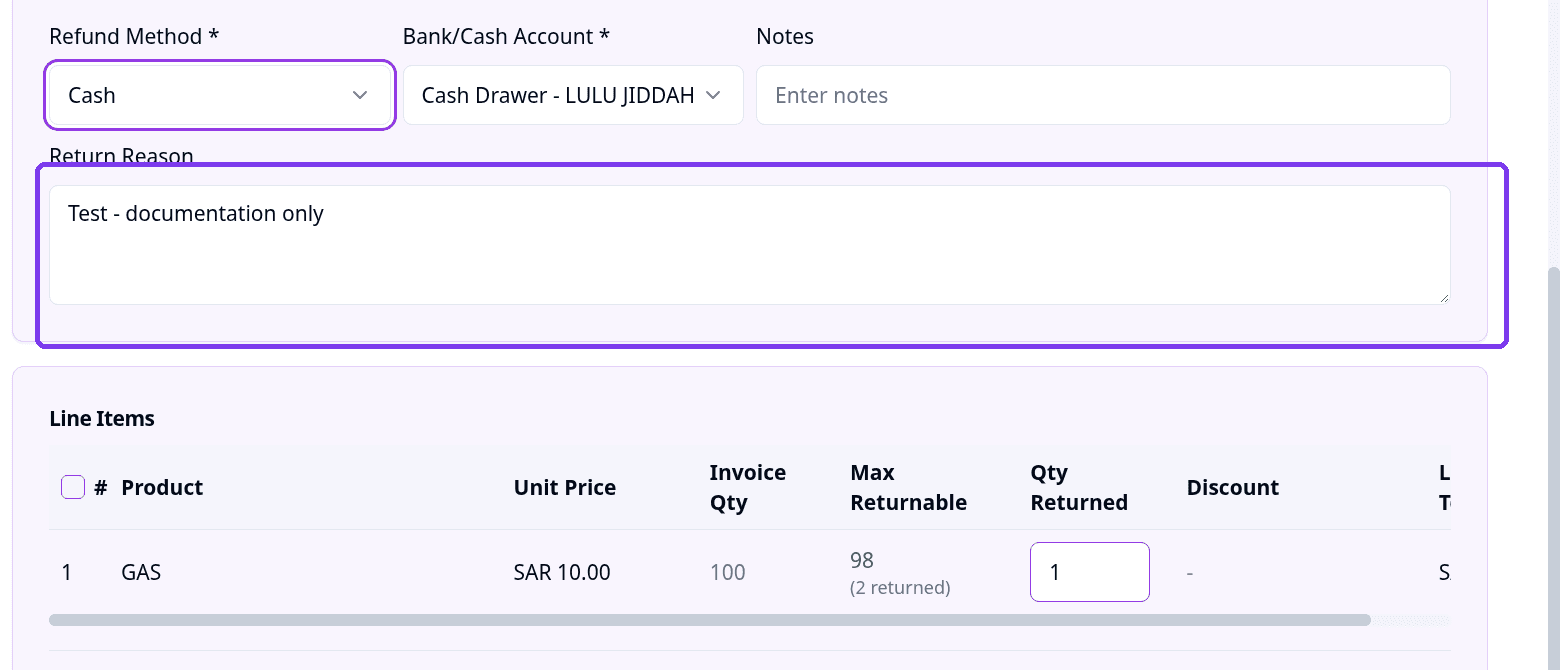
You can add Notes and a Return Reason. Both are optional.
Step 8: Save or post the return
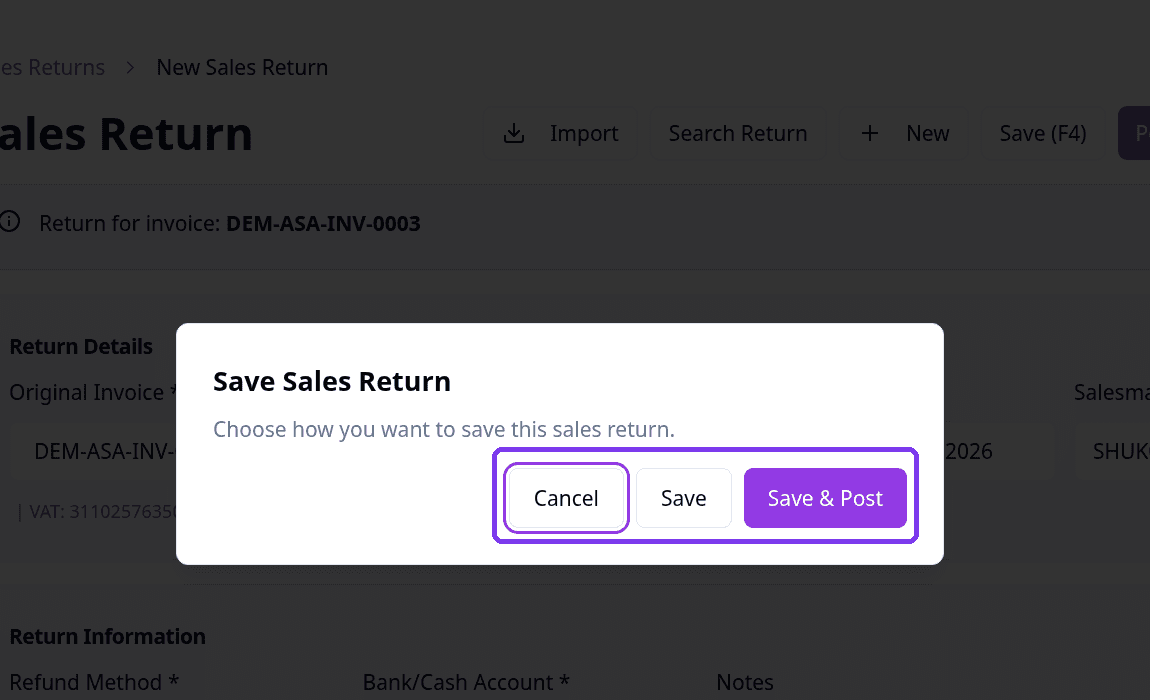
Click Save (F4). A dialog asks how you want to save this sales return.
Save keeps a draft. Save & Post finalises the return. You can also click Post (F3) to post directly without the dialog.
Important Notes
- Original Invoice, Return Date, Refund Method and Bank/Cash Account are required.
- Qty Returned cannot be more than Max Returnable on that line.
- Saved drafts may not appear in the Sales Returns list. Use Search Return at the top of the form to find them.