
This guide shows you how to create a sales invoice in RAAD ERP. You choose the customer, add products and record the payment.
Go to: Sales > Sales Invoice
Step 1: Open Sales Invoice
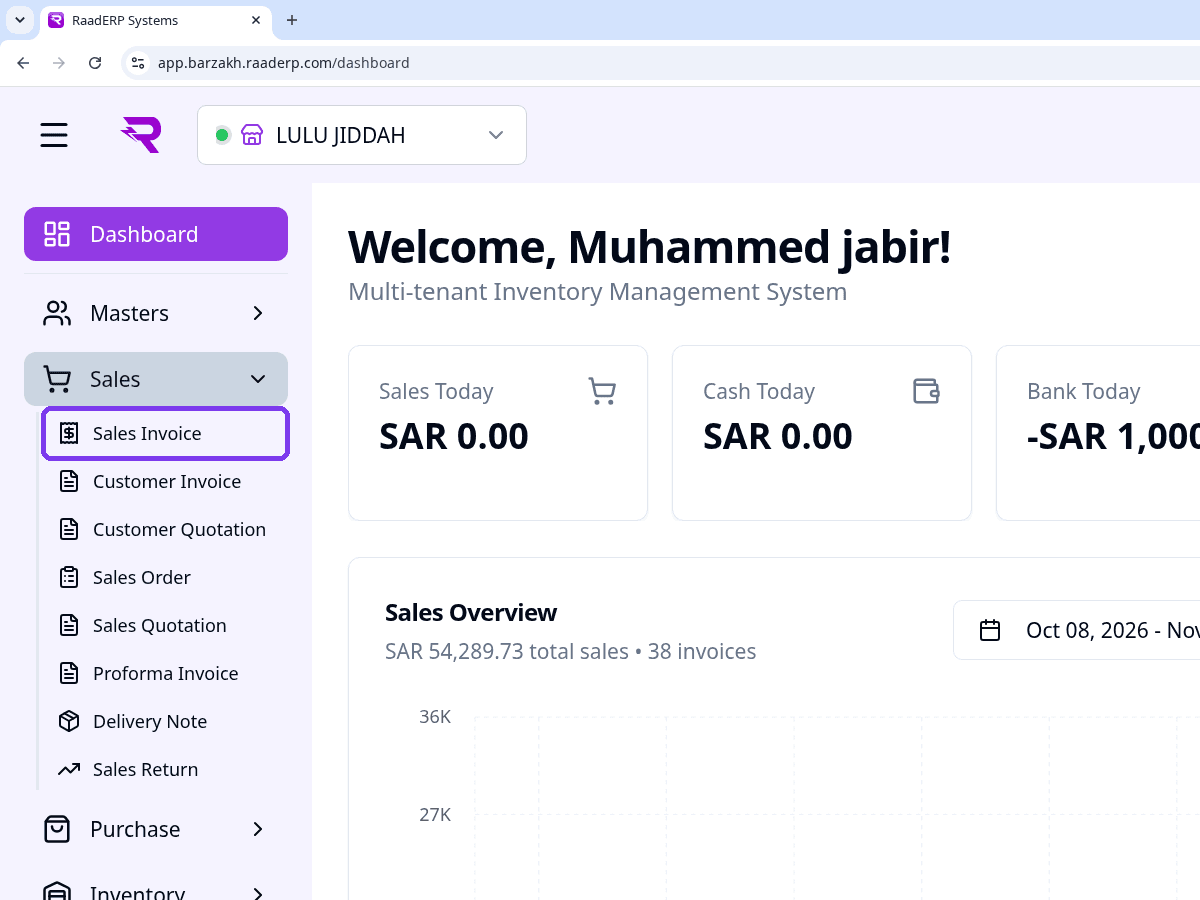
On a computer, click Sales in the left sidebar. On a phone, tap the menu button (☰) at the top left, then tap Sales.
Click or tap Sales Invoice. The Sales Invoices page opens.
Step 2: Click Create Invoice
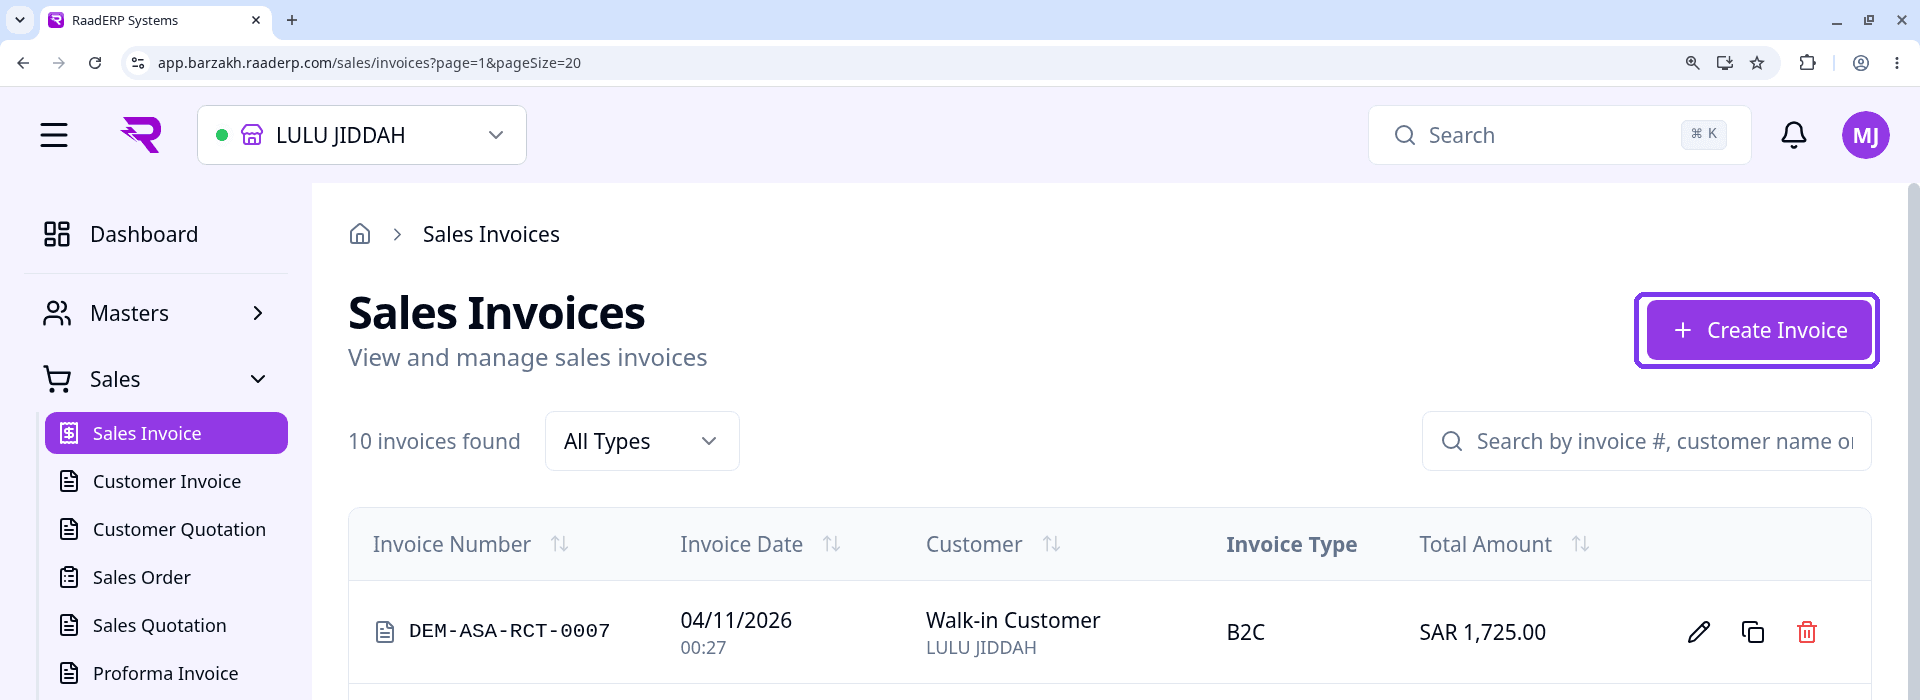
The Sales Invoices page lists your invoices with their number, date, customer, type and total amount.
Click Create Invoice at the top right. A new invoice form opens.
Step 3: Choose the invoice type
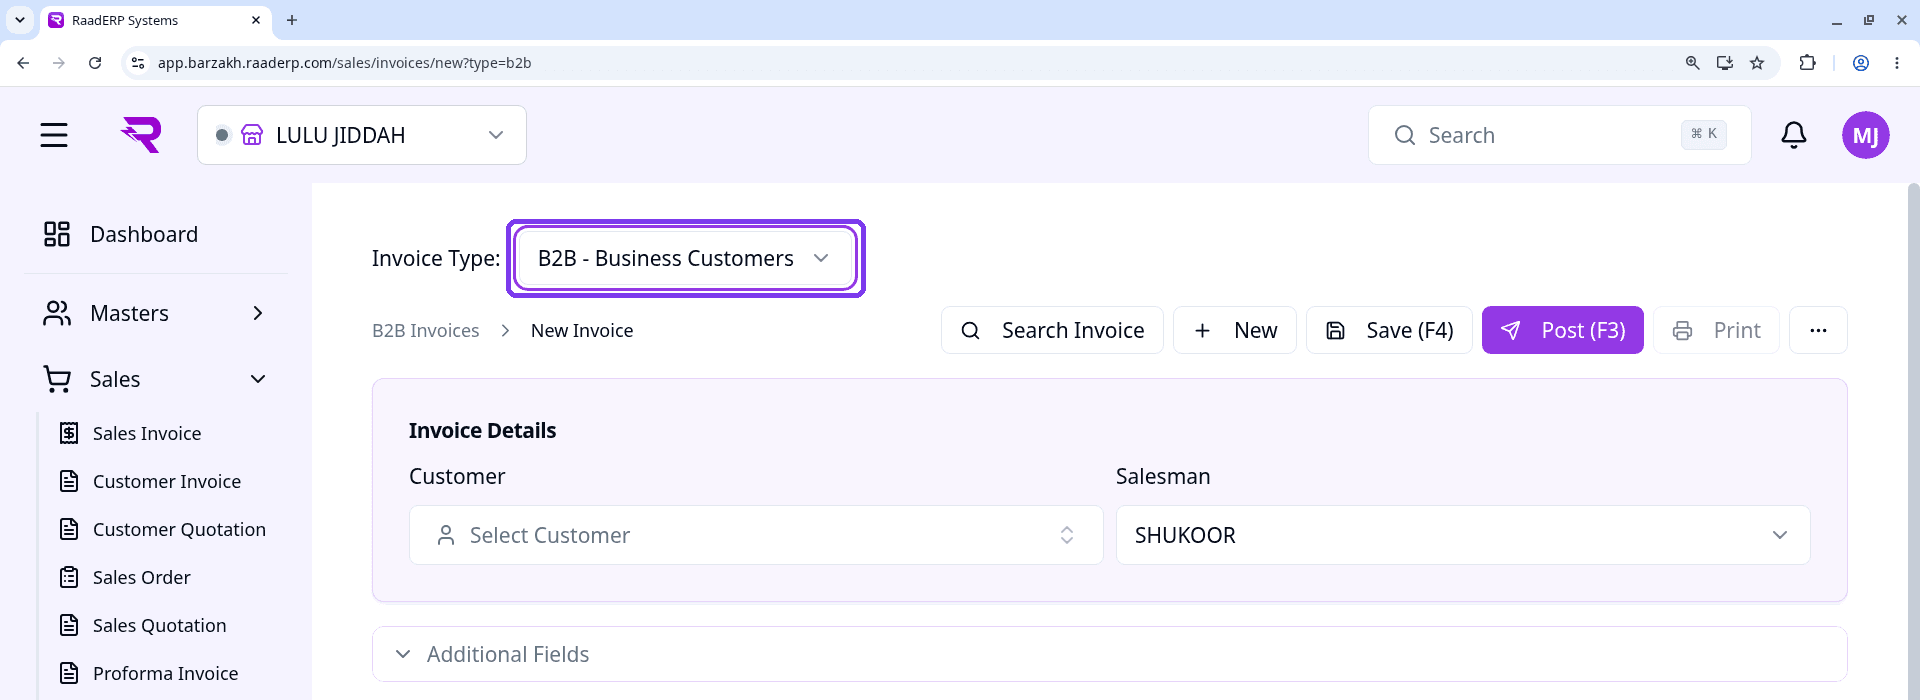
At the top of the form, choose the Invoice Type. The default is B2B - Business Customers.
Choose B2C - Retail/Walk-in Customers for retail or walk-in sales.
Step 4: Select the customer
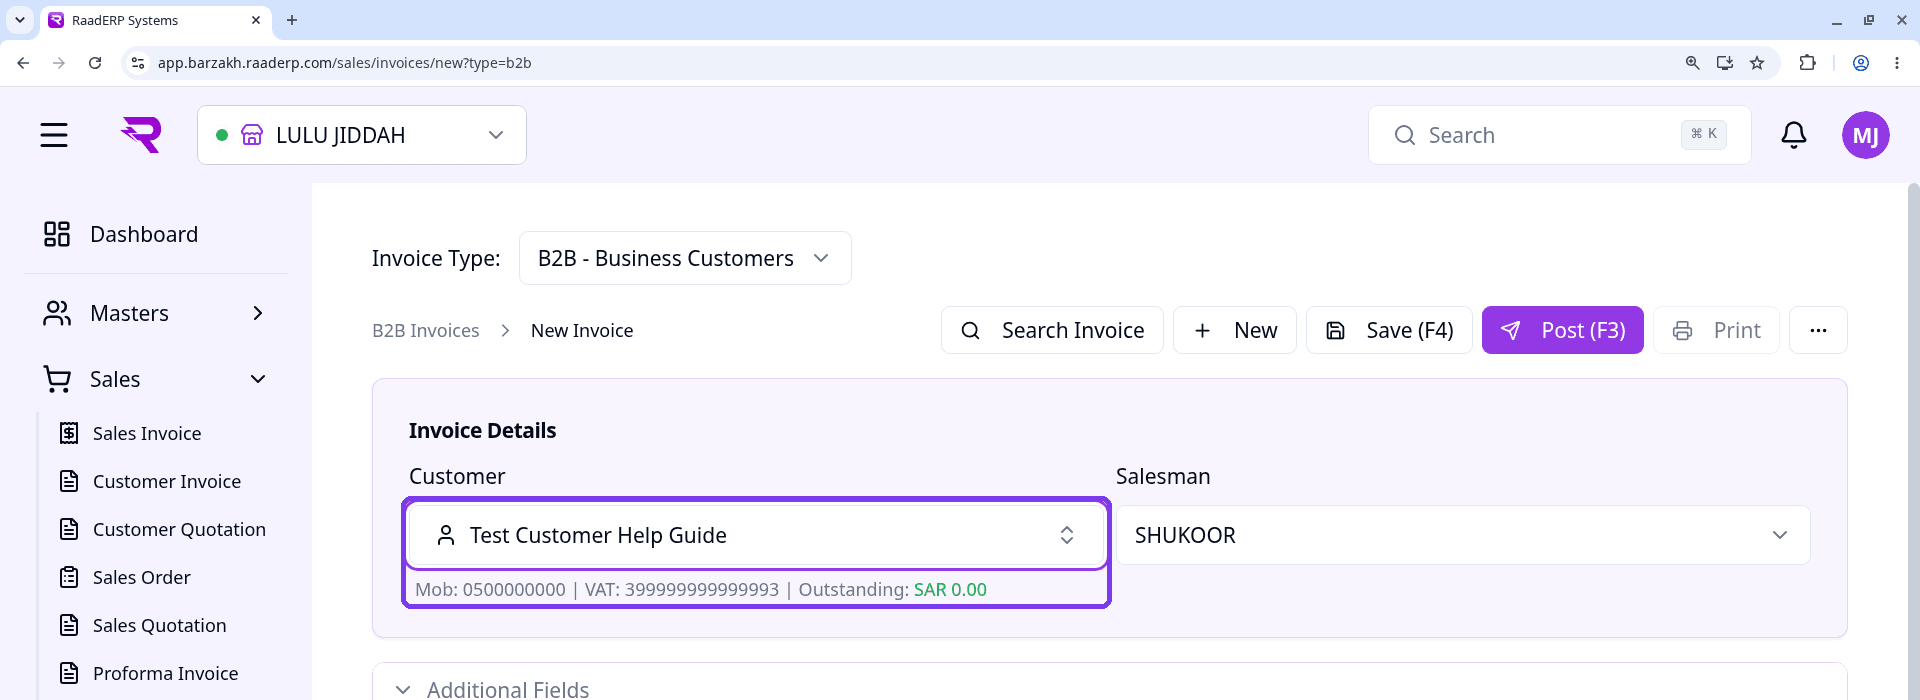
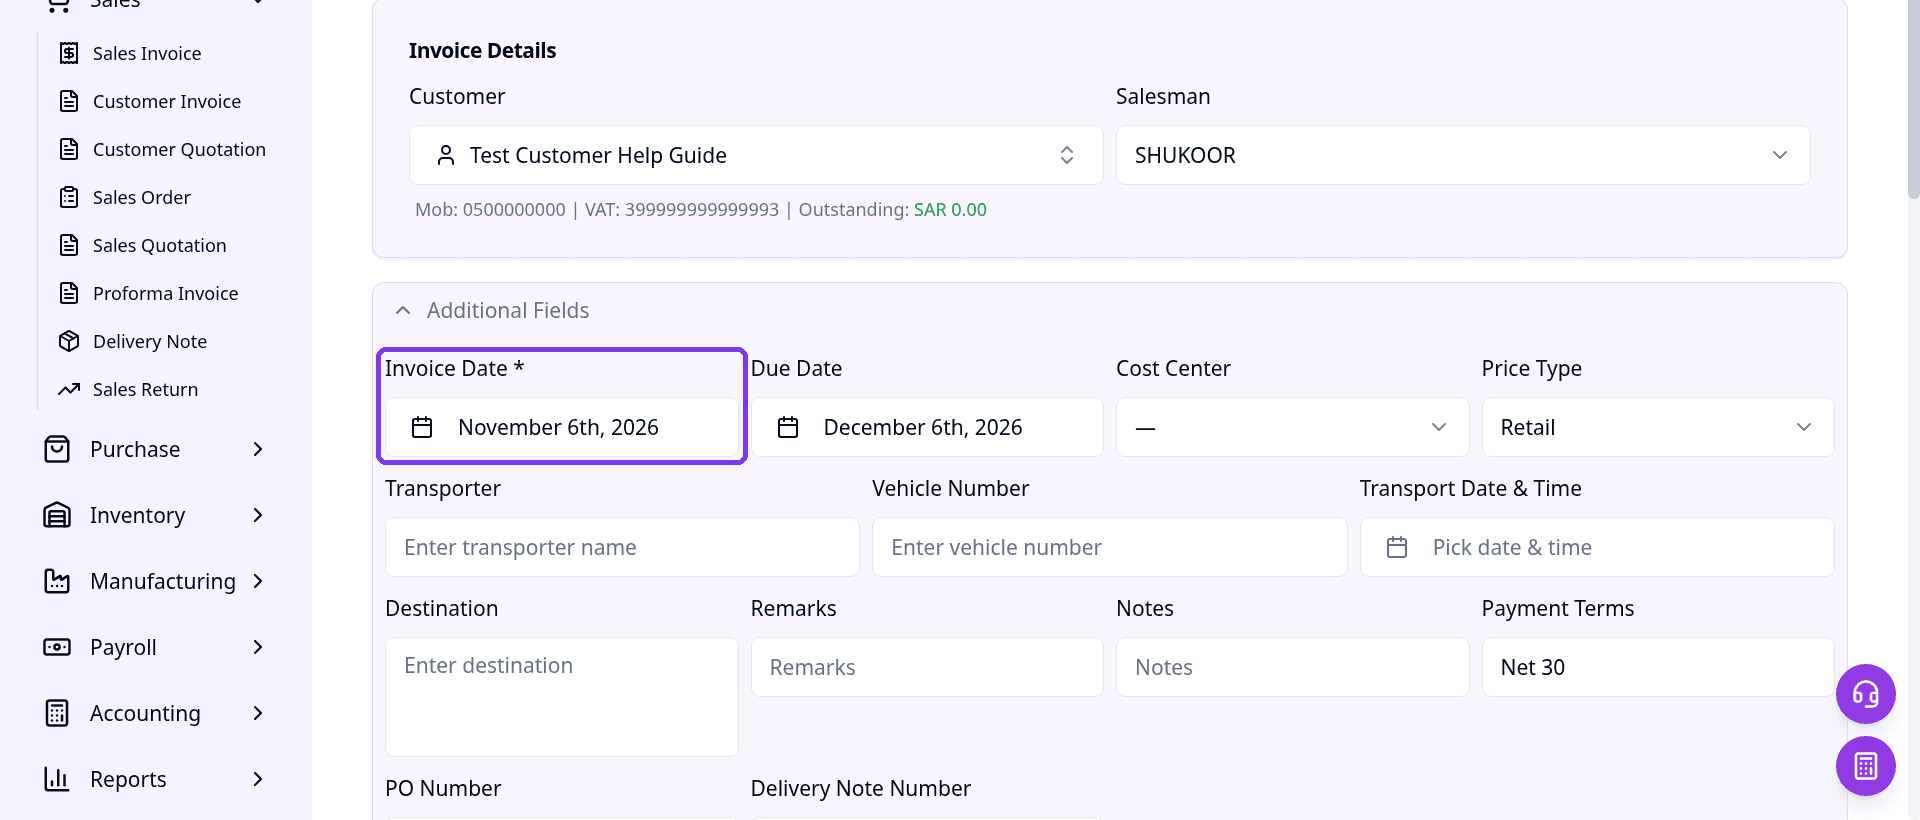
In Invoice Details, click Customer and search for the customer. Select them from the list.
The customer's mobile, VAT number and outstanding balance appear below the field. The Salesman is filled in for you, and you can change it.
Step 5: Check the invoice dates (optional)
Click Additional Fields to open more options. Invoice Date is required and is set to today. Due Date is set for you too.
You can also set Price Type, Payment Terms, PO Number, transport details and notes. The defaults are fine for most invoices.
Step 6: Add products in Line Items
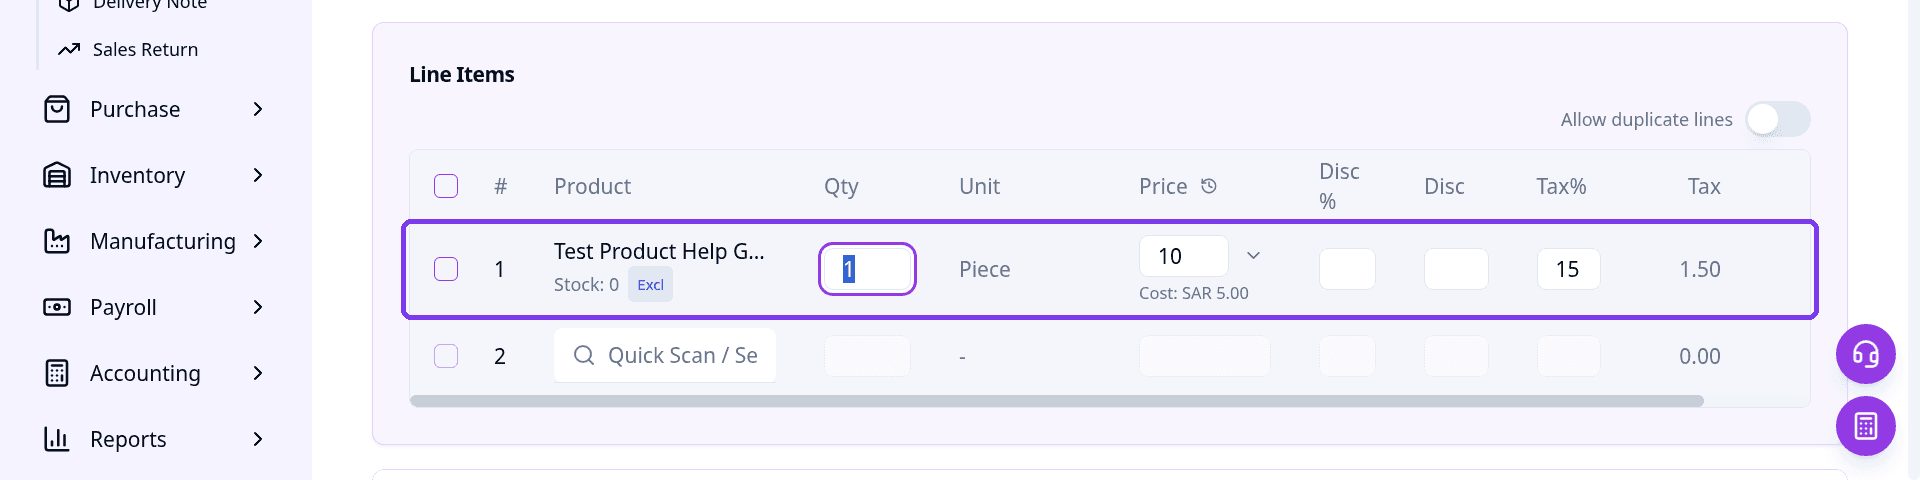
In Line Items, click the product search box and type the product name or scan its barcode. Select the product.
Enter the Qty. The Unit, Price and Tax% fill in for you. You can change the price or add a discount in Disc % or Disc.
The tax and line total are worked out for you. A new empty line appears so you can add the next product.
Step 7: Add extra charges (optional)
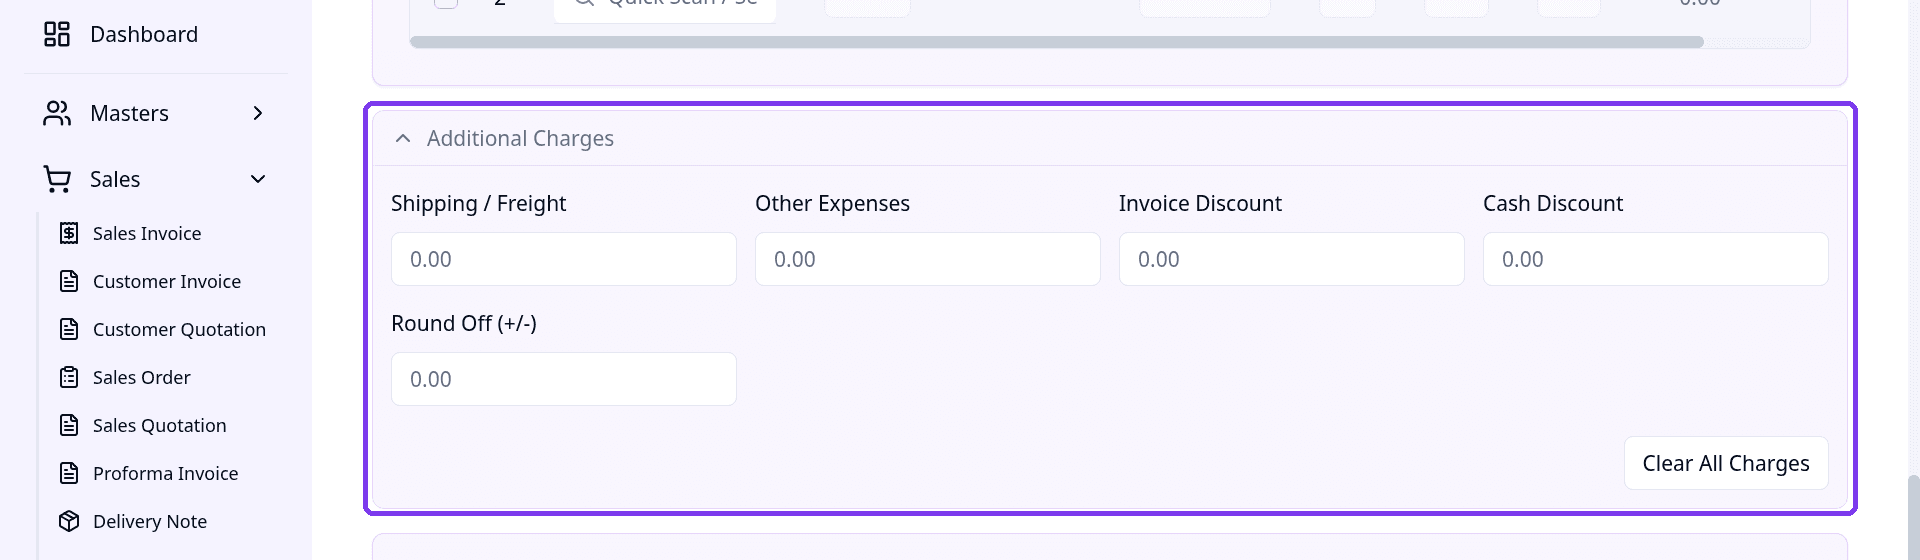
Click Additional Charges to add Shipping / Freight, Other Expenses, Invoice Discount, Cash Discount or Round Off (+/-).
Leave these at 0.00 if you do not need them. Click Clear All Charges to reset them.
Step 8: Enter the payment
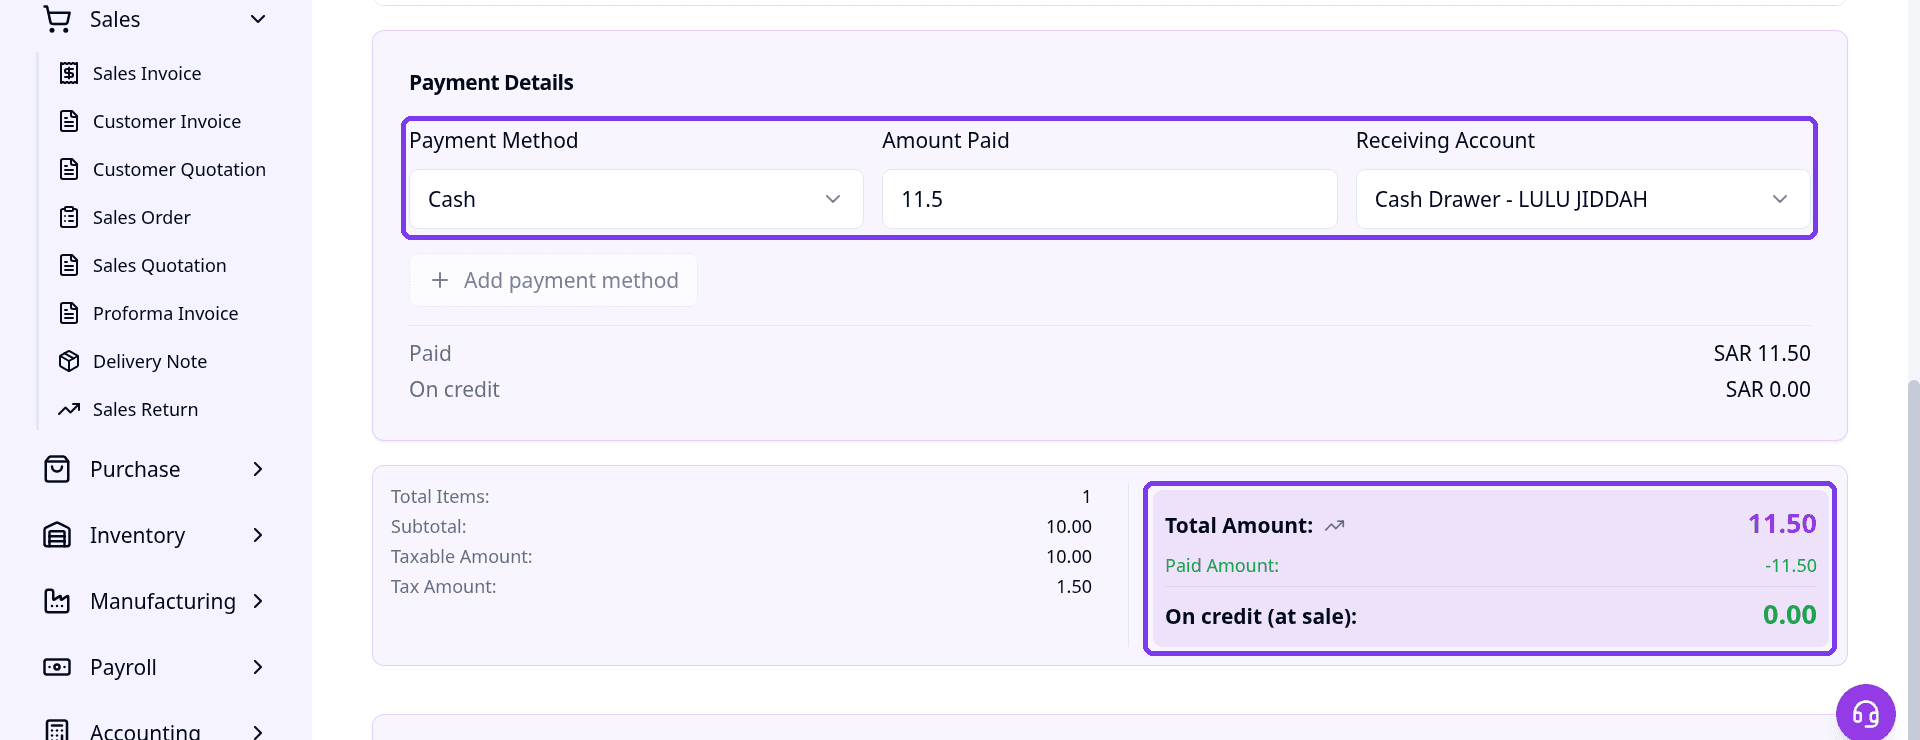
In Payment Details, choose the Payment Method: Cash, Bank or Credit. Amount Paid is set to the invoice total. Change it if the customer pays less.
Check the Receiving Account. The summary shows the Subtotal, Tax Amount, Total Amount, Paid Amount and the amount On credit.
Step 9: Save or post the invoice
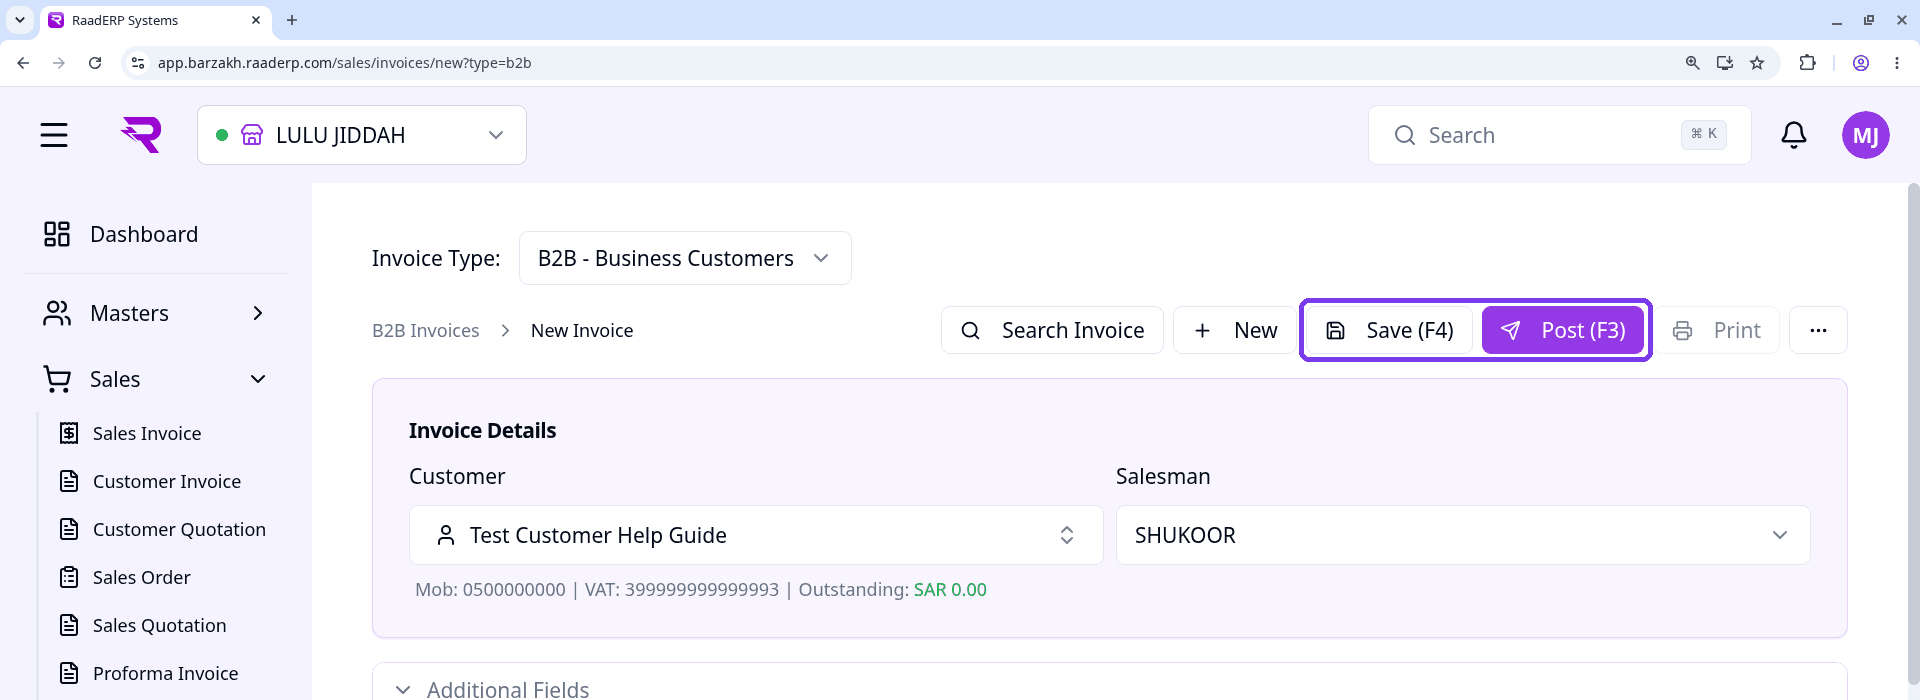
Click Save (F4) to save the invoice, or Post (F3) to post it.
Print stays greyed out on a new invoice that has not been saved yet.
Important Notes
- Invoice Date is required. It is set to today, and you cannot pick a future date.
- Each line has an Excl / Incl switch. Excl adds tax on top of the price. Incl means the price already includes tax.
- To find an invoice you already posted, click Search Invoice at the top of the form.